Record Video on your Formsite Form
 Whether you want to add video responses to a simple questionnaire or collect open-ended qualitative video data, this tutorial will show you how to record video with your Formsite forms.
Pipe Video Recorder is a simple to use video recording platform with support for mobile and desktop browsers. By integrating Pipe and Formsite, you’ll be able to collect rich compelling video content with your forms.
In this tutorial, we’ll cover creating a simple Formsite contact form with video recording powered by Pipe.
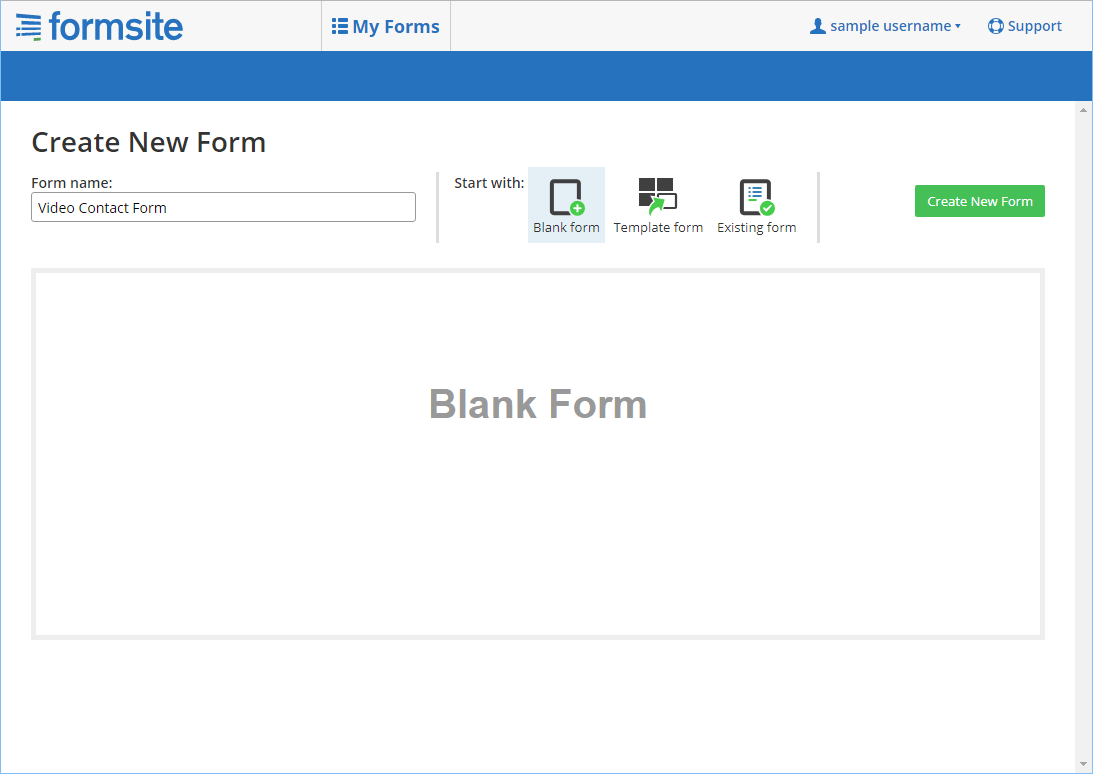
1. Create a New Form With Formsite
First we need to create our new Formsite form. Name it as you wish, I named mine “Video Contact Form”. Make sure the Blank Form option is selected and click [Create New Form]
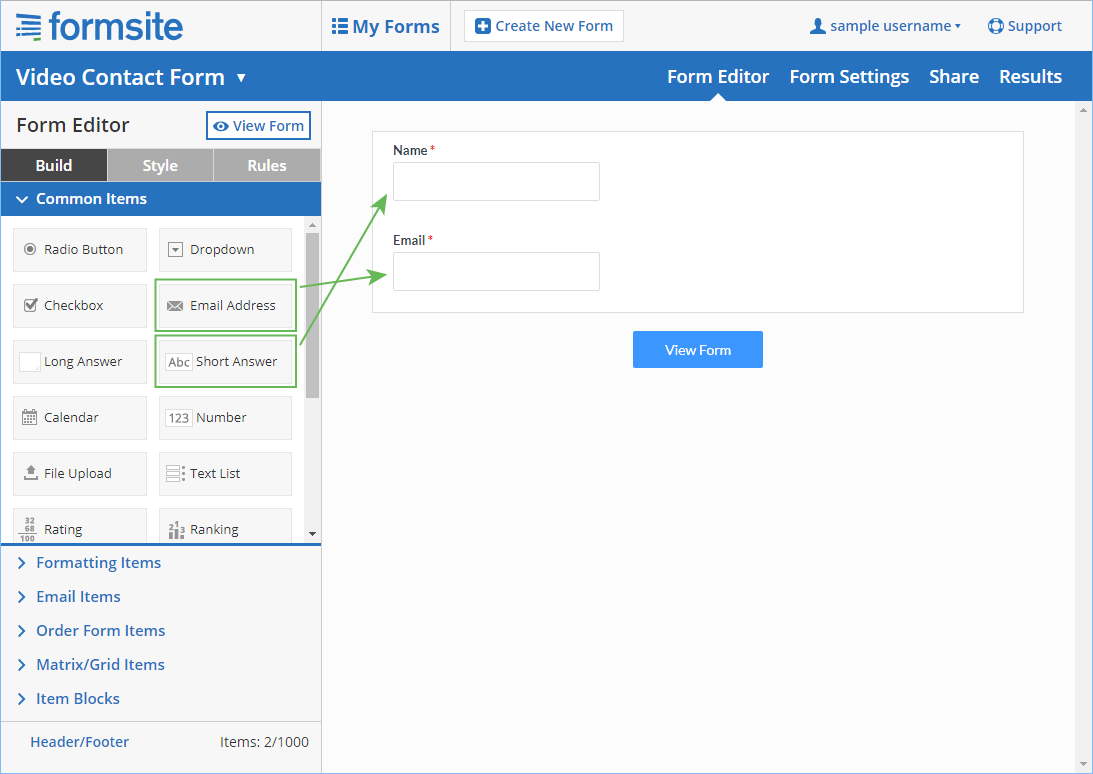
2. Add Name and Email Fields
Start by adding the form items. For this example, I’m adding 2 items from the Common Items group for collecting the name and email, but your form can contain any items needed.
3. Add the Pipe Video Recorder
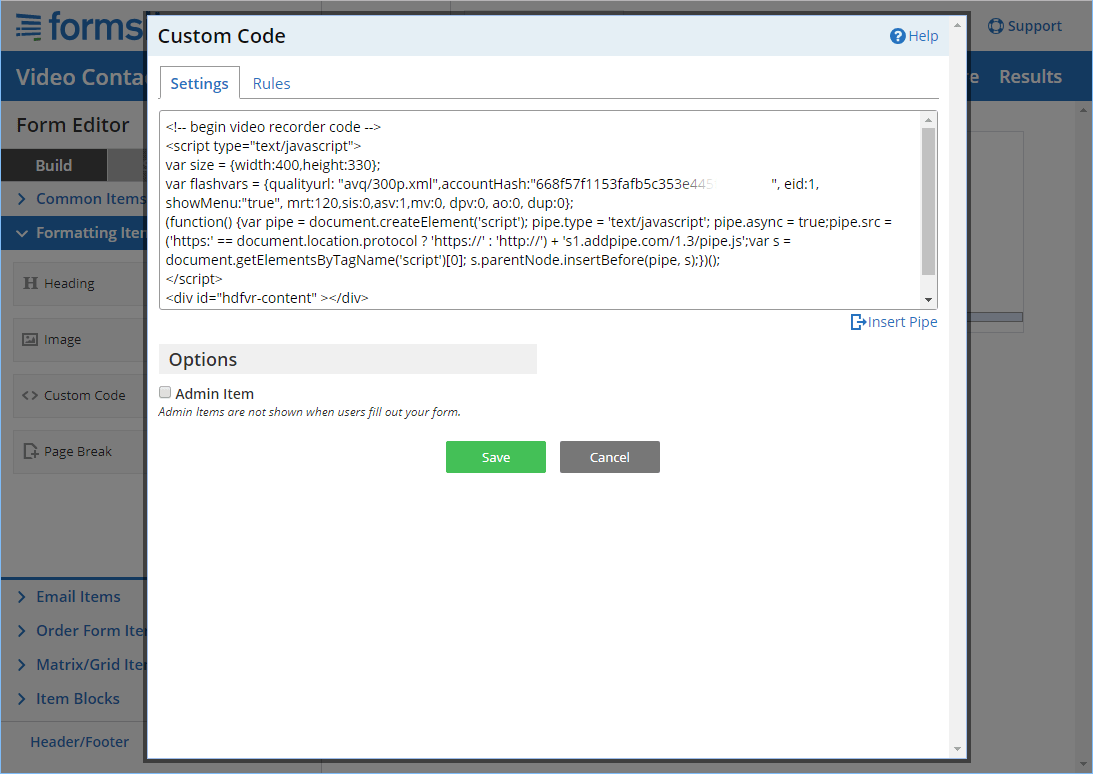
Next add the video recorder to the form using a Custom Code item from the Formatting Items group of the form editor. Using this item we are going add the Pipe embed code to the form.
- Add a Custom Code item to the form
- Sign in to your Pipe account at https://addpipe.com/signin (if you don’t have an account click this link to create one )
- Click on the Embed Recorder tab and copy the embed code from the lower right part of the page
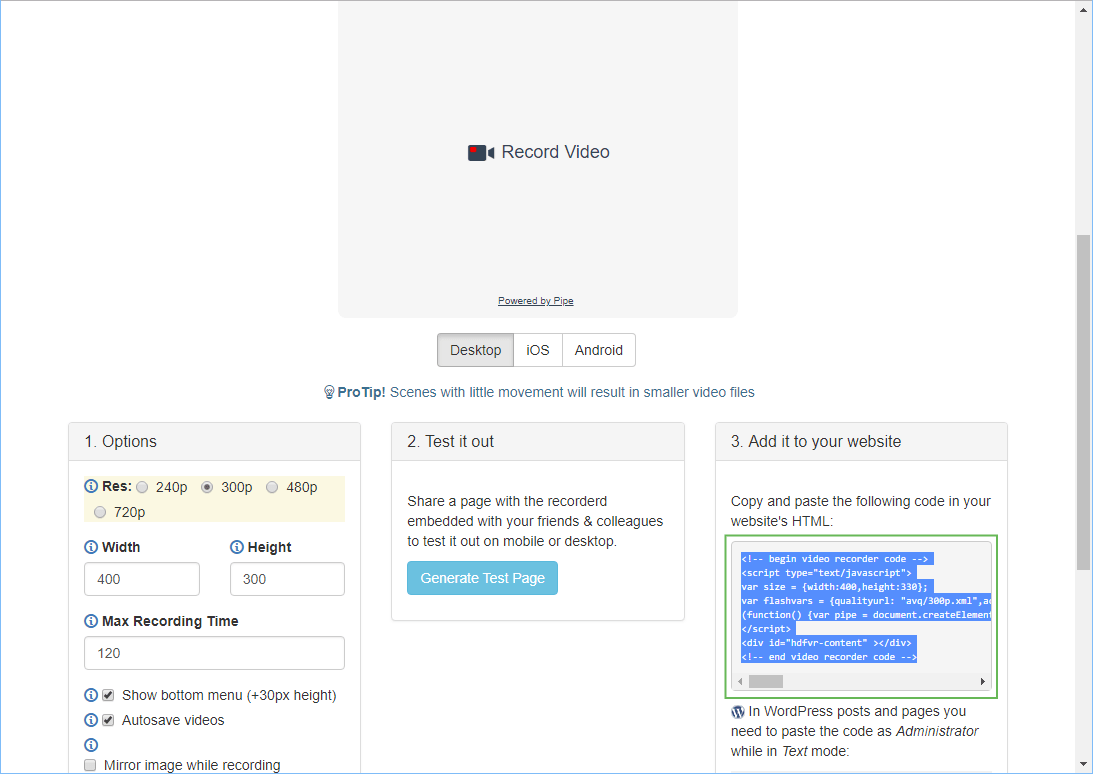
- Paste the copied code into the Custom Code item and click [Save]
The form now contains an item to record video.
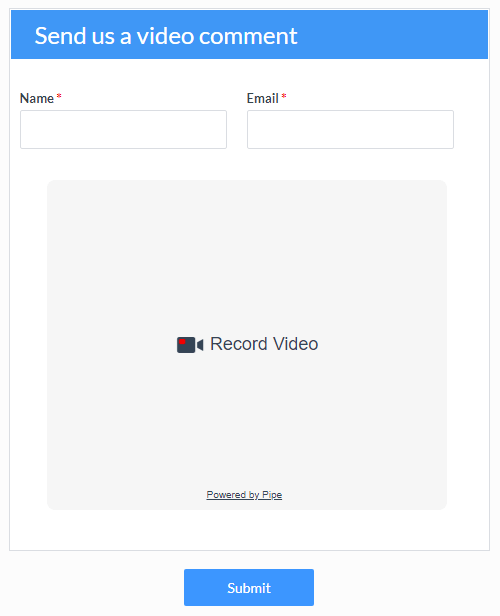
Click the [View Form] button at the bottom of the form editor page to preview the form.
Here’s how it should look:
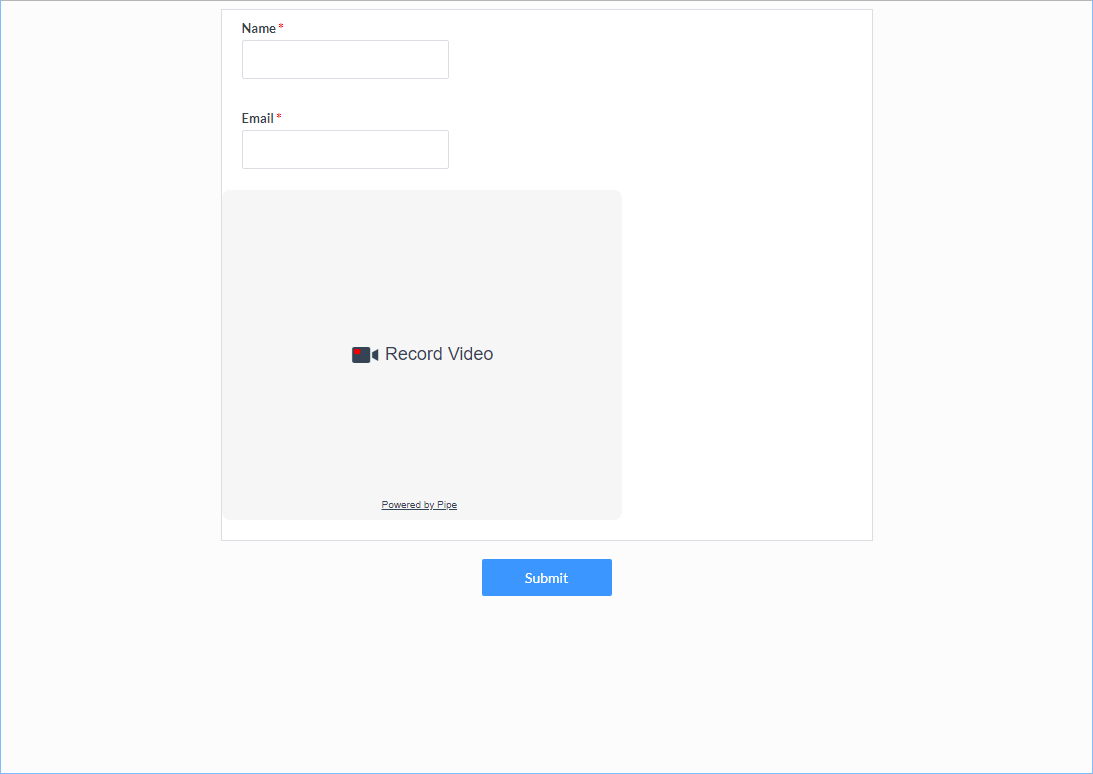
Anyone who uses this form is able to type in their name and email address, and record video that you can access in your Pipe account.
All this is good, but we also need a way to view the recording in the Formsite result. For this, we will use a Hidden Field item to the top of the form from the Common Items group:
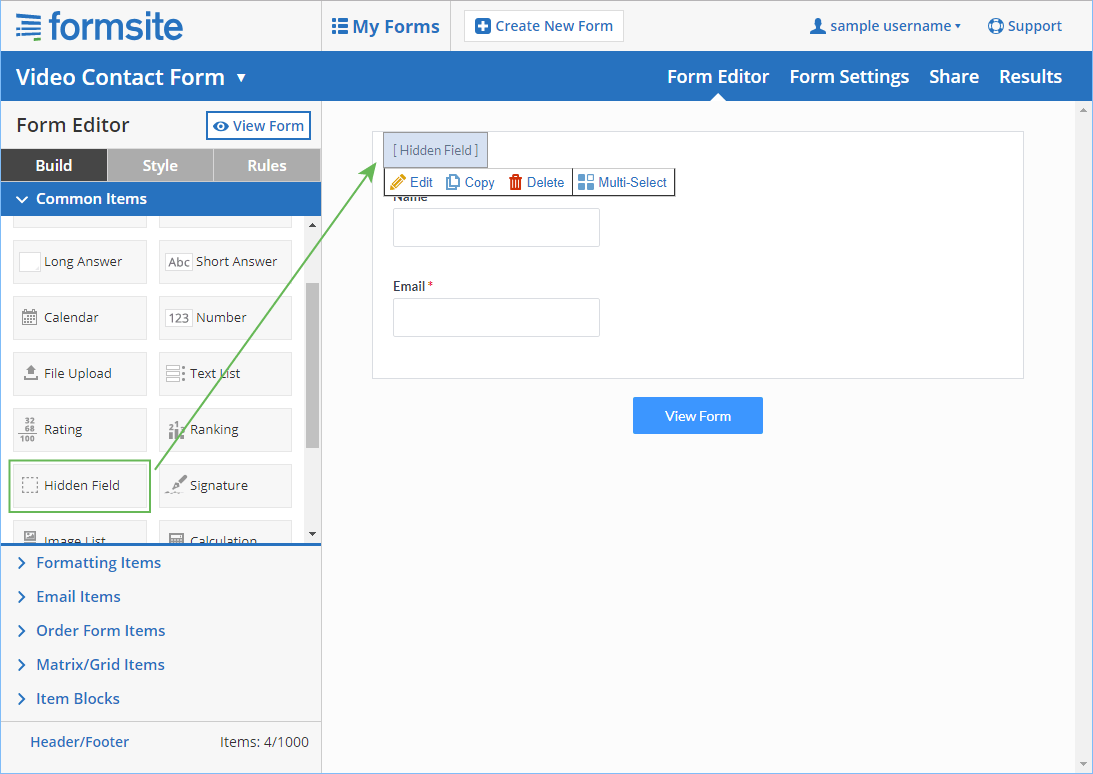
This field will store the URL of the recorded video after it is processed by Pipe. The link to the video will be recorded with the result in the form’s Results Table.
4. Get the video link
Using some custom Javascript and Pipe’s Events API we will automatically fill the Video URL field with the direct link to the new recording.
We will be using Pipe’s onSaveOk function (part of Pipe’s Javascript Desktop Events API) which gives us the name of the recorded video. Using the name we’ll generate the full URL.
The onSaveOk function is called by Pipe after a video is recorded and gives us a lot of information about the new video:
- video name (without extension)
- duration
- device names (camera, microphones) if available
- audio and video codecs
- container type
- storage location (when the resulting videos are stored by Pipe)
We will just be using the video name and location in our tutorial, but you can use any other information available in the function for your form submission.
So we’ll be extending onSaveOk to:
- Get the URL and file extension based on the video name and location
- Populate the Hidden Field item with the link
To make it work on mobile devices we’ll also be using Pipe’s onVideoUploadSuccess function (part of Pipe’s Javascript Mobile Events API).
We’ll start with the following code which we’ll change to make it work with your own Pipe account and your own Formsite form:
<script>
formFieldId="formsite_field_ID"; //Hidden Field id
accountHash="ACCOUNT_HASH"; //Pipe account hash
function onSaveOk(streamName, streamDuration, userId, cameraName, micName, recorderId, audioCodec, videoCodec, fileType, videoId, audioOnly, location){
  //onSaveOK is part of the JS desktop events API
  document.getElementById(formFieldId).value ="https://"+location+"/"+accountHash+"/"+streamName+".mp4";
}
function onVideoUploadSuccess(filename,filetype,videoId,audioOnly,location){
  //onVideoUploadSuccess is part of the JS mobile events API
  document.getElementById(formFieldId).value ="https://"+location+"/"+accountHash+"/"+filename+".mp4";
}
</script>
We will make the following changes to the above code:
- Replace formsite_field_ID with the id of your Hidden Field item. If the Hidden Field item is the first item in the form, the ID will be RESULT_TextField-0. You can view the form and either view the page source or use the browser’s developer tools to find the item’s ID value.
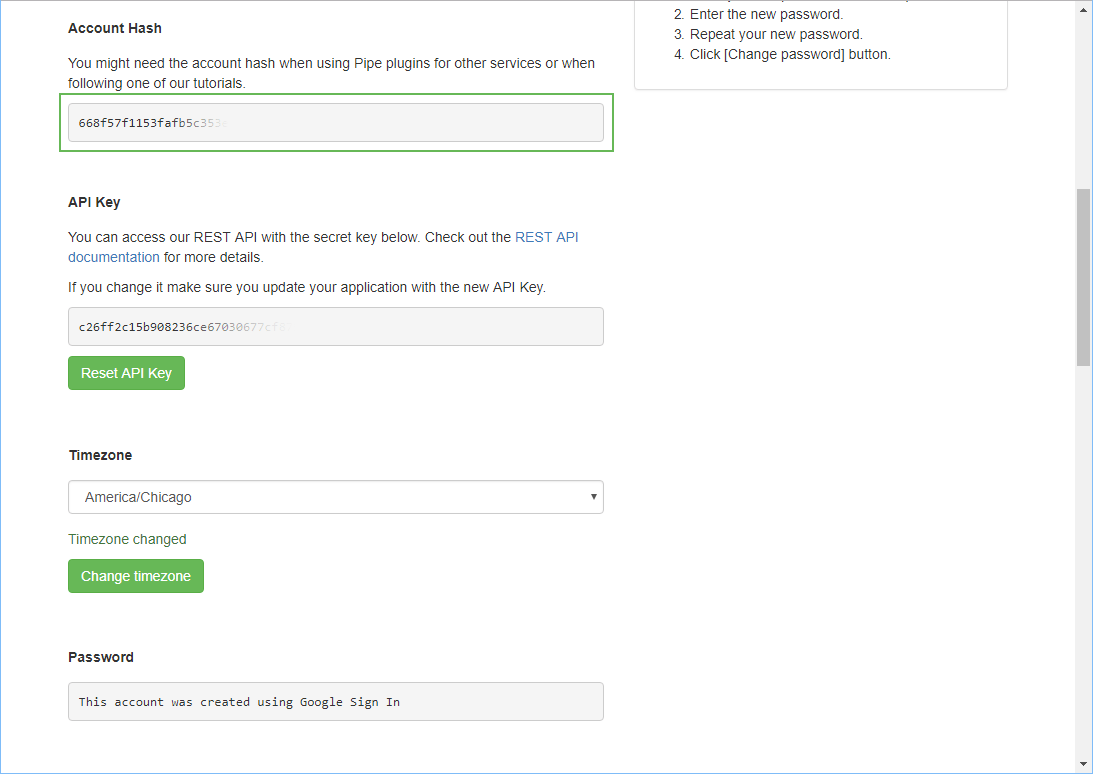
- Replace the Pipe ACCOUNT_HASH value in the code above with your own Pipe account hash (found on Pipe Account > Settings)
- Once the changes are done paste the modified code at the bottom of your Custom Code item after the existing video recorder code:

- Done!
After recording a video in the form the Hidden Field item will now be filled with the final video storage URL.
5. Test and Record Video
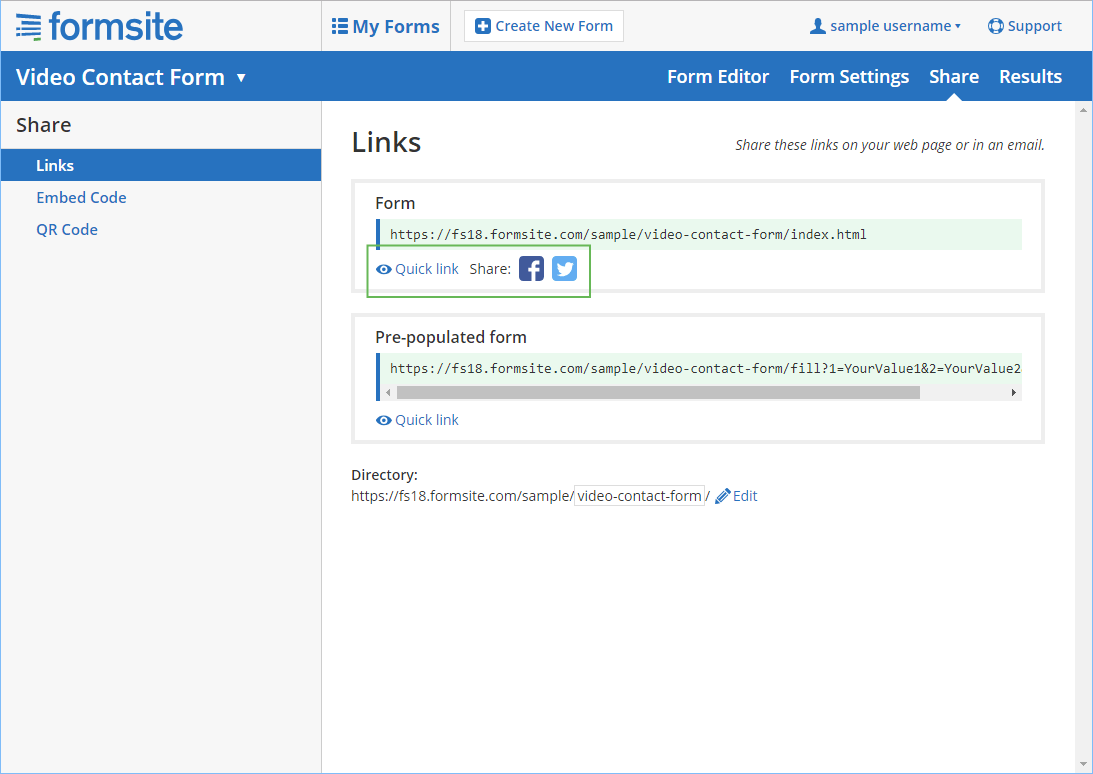
Click the Share tab to see the form’s link or its Embed Code to embed into your site.
6. Viewing videos in the results
Click the Results link to see the form results and video links:
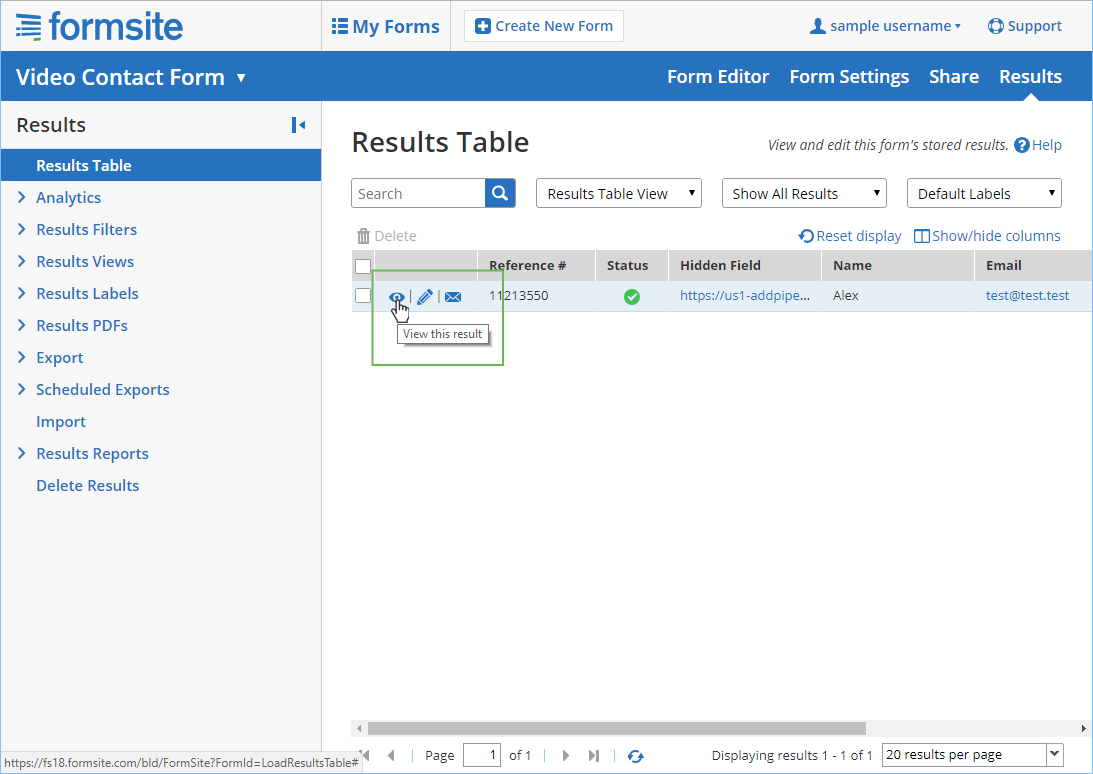
Click the view link on the individual result to see the complete link:
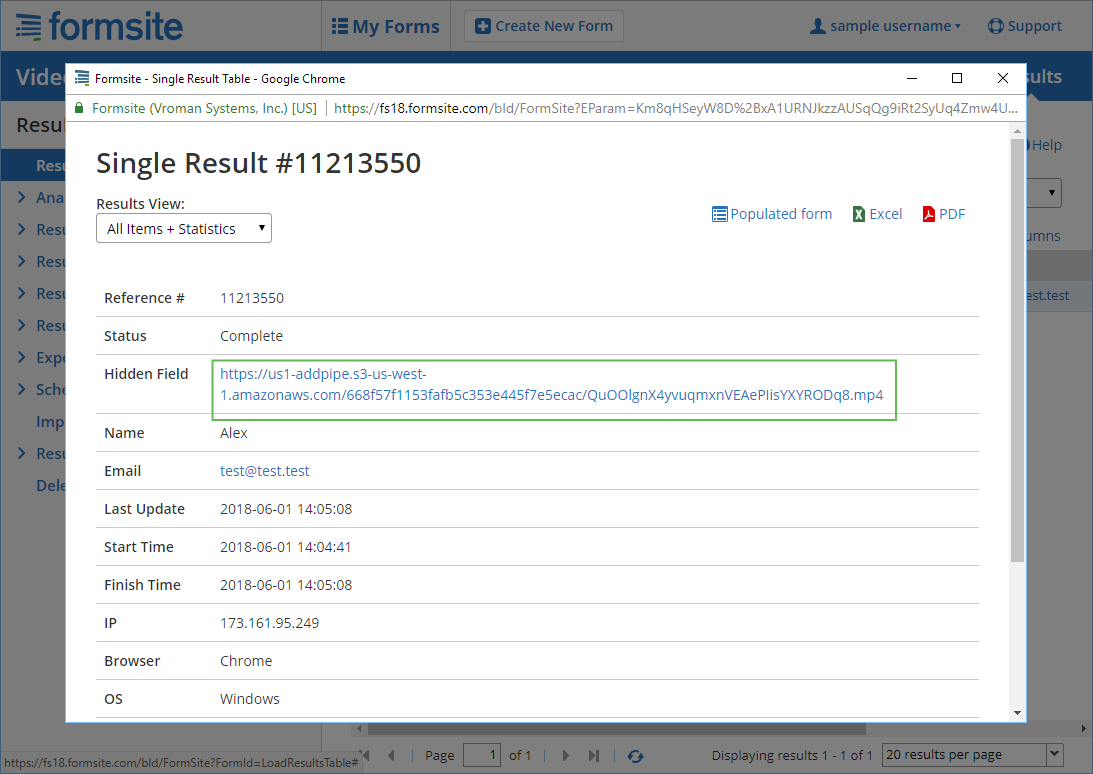
That’s it! You’re now able to record high-quality video from your users through a simple form created with Formsite and Pipe Video Recorder.
This week’s post has been contributed by Pipe Video Recorder.