Add Print Buttons to Online Forms & Surveys
Occasionally form owners ask how to add a print button on the form or Success Page. The typical scenario for printing begins with organizations wanting an offline way to collect results. For example, if the organization has customers at an event or gathering where offline completion is easier.
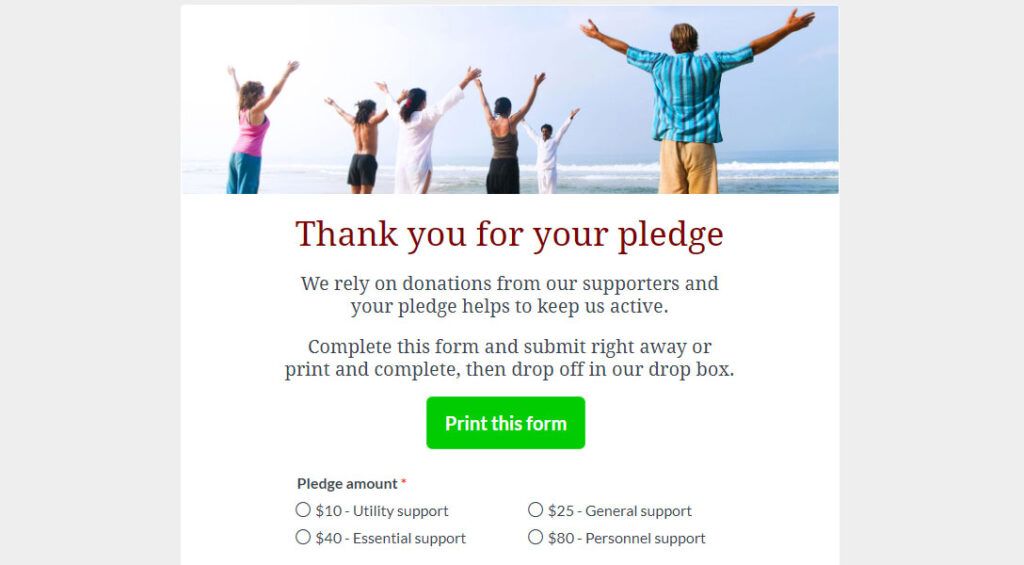
Order forms, registration forms, surveys, etc. are all possible to print and complete. Once the form owner receives the completed printed forms, they can input the results through the form or in bulk using the Results -> Import function.
The form owner can print the blank form or save as a PDF file, or provide instructions for the visitor to print. See how a little custom code can display a print button or replace the submit button entirely.
Add Print Button
The easiest way for form owners to print the complete form is to start a new result, then view the incomplete result and print from the Results Table. For letting the form visitor choose whether to complete the form online or print the form and complete offline:
- Add a Formatted Text item with instructions to either complete the form online or to click the ‘print’ button. Be sure to also include instructions for how to send in the printed version.
- Add a Custom Code item where the button should appear. See the bottom of this article for replacing the submit button with a print button.
- Add this code to the Custom Code item:
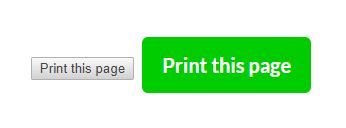
<button type="button" onclick="window.print()">Print this page</button> - Save and test the form.
Styling the Print Button
The ‘button’ element uses the default style applied by the browser. This style appears by default as the basic gray button. You can use the same styles as the other buttons on the form or set custom styles:
Use the same style as the other form buttons
The easiest way to add a style is to include a ‘class’ attribute for an already-defined class. For example, adding a class to the code provided above:
<button class="my_button submit_button" onclick="window.print()">Print this page</button>
Next, add the new class name to the Style -> Advanced page along with the already-defined button styles:
- Go to Style -> Advanced
- Locate the CSS property for the current submit button, then add a comma followed by the new class name:
Original:.outside_container .submit_button {
New:.outside_container .submit_button, .my_button {
Note that class names begin with a period in the CSS.
Use a custom style
For form owners who want the print button to appear different than the submit button, adding to the CSS is easy:
- Go to Style -> Advanced
- Scroll to the bottom of the CSS and insert the new CSS code before the closing </style> tag
For example, to center the new button in the form add this code:.my_button {display: block; margin: auto;}
To also change the background color, add the ‘background-color’ setting:.my_button {display: block; margin: auto; background-color: blue; }
Replace the Submit Button
Some form owners ask how to replace the submit button with a print button. If the goal is to prevent submitting, this method is perfect. This method prevents the form from saving any results data or triggering any Notifications or integrations. Add this code to a Custom Code item or in the Style -> Advanced page in the HTML Head box:
<script>
document.getElementById("FSForm")
  .addEventListener('submit', event => {
    event.preventDefault();
    document.getElementById("FSsubmit").disabled = false;
    window.print();
    });
</script>
Tip: Use the Form Settings -> Custom Text page to change the button text from ‘submit’ to ‘print’.