Integrate Zendesk Customer Service with Online Forms

Using Formsite’s online forms with other online services is easy with our Integrations search page. Browsing the integrations lets form owners read about and choose one or more services to continue after submitting the form. A popular example is Zendesk for creating a complete customer service process.
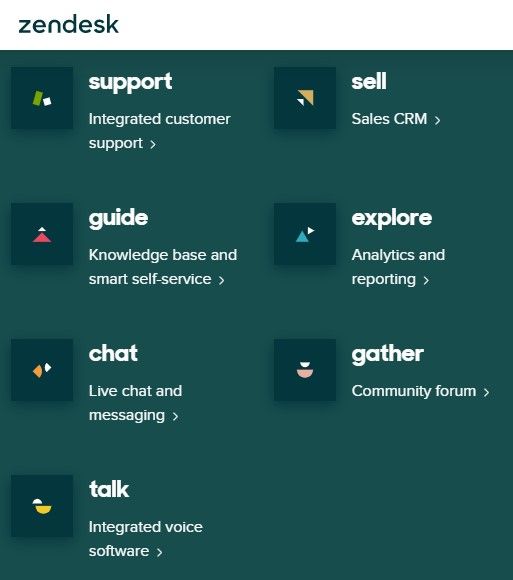
Zendesk gives organizations the ability to provide information and real-time support to customers. Their service provides knowledge base and FAQ features, issue ticketing, and chat features.
Zendesk Actions
Formsite’s Zapier integration lets form owners send information to Zendesk after submitting forms. For example, if the Formsite form collects a support request, the Zendesk integration can:
- Find or Create an Organization, User, and Ticket
- Create or update the ticket with the issue
- Notify the support team for resolution
See how to build the process with Formsite and Zendesk.
Start with the Form
Use the form builder to create the form, with Short Answer items for text-based questions like ‘Name’ and ‘Address’. Be sure to use the Email Address item for collecting email addresses for sending receipts and status updates. Also be sure to get the recipient’s opt-in permission to send later emails.
After completing the form, click the View Form button to complete a test result. This test result is important as it provides sample data for Zapier during the setup.
Create the Zap
Log in to Zapier or make a new account, and click the Make a Zap button.
Trigger (Formsite):
Choose App & Event: Type Formsite into the search box, then click the Formsite logo
Trigger Event: New Form Result
Choose Account: If this is your first time using Zapier with Formsite, you will need to click the ‘add a new account’ link. Select your Formsite account.
Customize Form Result: Click the dropdown to choose the form you made earlier
Find Data: Click the Test Trigger button to retrieve the test result from the form
Action (Zendesk):
Choose App & Event: Type Zendesk in the search box and click the logo
Action Event: Choose the action from the list
Choose Account: If this is your first time using Zapier with Zendesk, you will need to click the ‘add a new account’ link. Select your Zendesk account and allow Zapier to use your account.
Set up Action: Click the dropdowns to choose the form items that contain the content from the form
Test Action:
Click the Test and Review button to send the sample form result to Zendesk and confirm that the settings are correct. If all is working as expected, click the button to turn on the Zap.