Integrate Scheduling & Booking Apps with Online Forms

Use Formsite to create online scheduling forms and keep everyone up to date. Give visitors a way to schedule appointments and meetings without duplicate times or overbooking. Send emails for easy communication and integrate with other services for even more functionality.
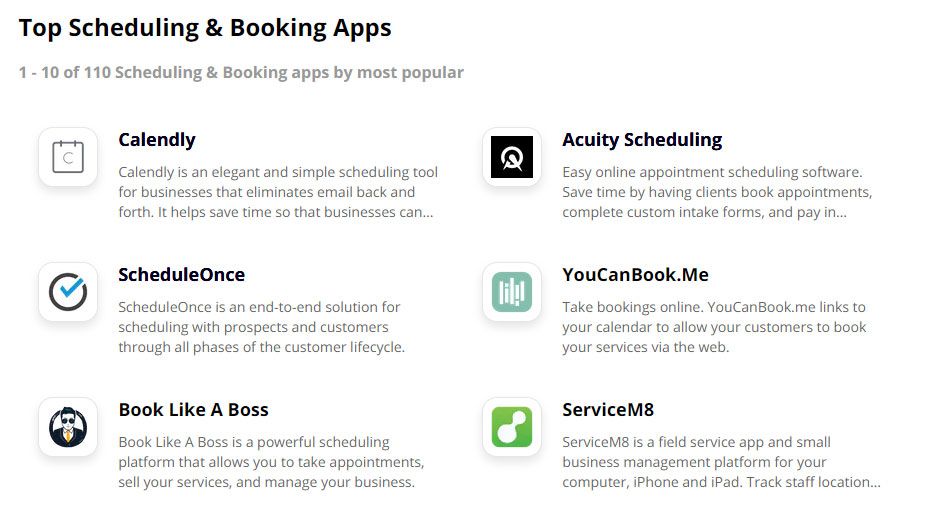
Formsite’s Integrations search area lets form owners connect to thousands of other services. Connecting to a scheduling app like Appointy or Acuity Scheduling lets admins build awesome workflows. Use Formsite’s Zapier integration to send form results to scheduling and booking apps.
Scheduling Features
- Create Customers: Add form visitors as a new customer
- Add Appointment: Block out the appointment time in the schedule
- Create Order, Project, or Asset: Use to allow teams to create projects
A common scheduling feature includes notifying one or more parties after appointment updates. The message can also send attachments or links to documents to enhance the process.
Start with the Form
Use Formsite’s form builder to create the scheduling form with Calendar items to collect dates. Be sure to set the preferred date format in the Calendar item’s settings.
After completing the form, click the View Form button to complete a test result. This test result is important as it provides sample data for Zapier during the setup.
Create the Zap
Log in to Zapier or make a new account, and click the Make a Zap button.
Trigger (Formsite):
- Choose App & Event: Type Formsite into the search box, then click the Formsite logo
- Trigger Event: New Form Result
- Choose Account: If this is your first time using Zapier with Formsite, you will need to click the ‘add a new account’ link. Select your Formsite account.
- Customize Form Result: Click the dropdown to choose the form you created
- Find Data: Click the Test Trigger button to retrieve the test result from the form
Action:
- Choose App & Event: Type the scheduling service in the search box and click the logo.
- Action Event: Choose the action from the list, such as Create Activity.
- Choose Account: If this is your first time using Zapier with the service, you will need to allow Zapier to use your account.
- Set up Action: Click the dropdowns to choose the form items that contain the content to use.

Test Scheduling Action:
Click the Test and Review button to send the sample form result and confirm that the settings are correct. If all is working as expected, click the button to turn on the Zap.
Some scheduling services have more functions that can trigger after adding activities. Another option is to continue the process in Zapier with other services, like sending email with Gmail or adding to a Mailchimp list.