Mailchimp Merge Tags for Advanced Email Lists
Formsite account owners have access to some of the most powerful and useful integrations available. These integrations allow enhanced functions like payment processing, copies of file attachments, and email list automation. In addition to adding email addresses to lists, the Mailchimp merge tags let form owners send other information to enhance list records.
What are Mailchimp Merge Tags?
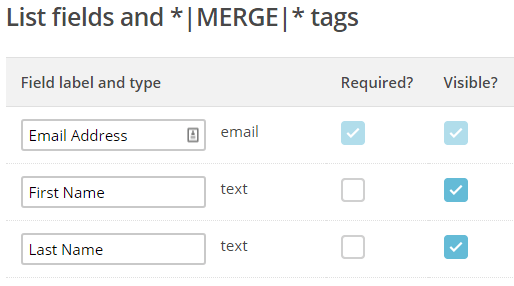
The initial fields available with a new Mailchimp list are First Name, Last Name, and Email Address. Merge tags allow list owners to set additional, custom fields to add information and context to each list record.
Examples of useful merge tags include:
- Result reference numbers to refer back to your Formsite Results Table
- Scoring results for quiz forms. Mailchimp’s automation tools let list owners set conditions for sending email campaigns, and their templates allow for built-in conditional logic, too. Campaign templates can include different content based on the values included with each record to allow for efficient and smart campaigns.
- Referral sources. See our article about collecting referrers.
- Departments or categories
- Sizes, colors, or other preferences
How to use merge tags with forms
 Create or edit the list in Mailchimp under the Lists navigation area
- Go to Settings -> List fields and *|MERGE|* tags
- Edit the provided tags or create new ones. The Field Label will appear as the tag name in the Formsite integration settings
- In the Formsite account, go to the form’s Form Settings -> Integrations -> Mailchimp page
- Connect to the Mailchimp account and select the list
- Use the mapping settings to connect the Mailchimp tags with specific form items
- Save and test
What if a form item isn’t shown?
Some form items are not able to be directly mapped, like matrix items or text pricing items. In that case, the solution is to use the item’s pipe code with a Hidden Field item, then map the Hidden Field item.
- If the item to map is on the last page of the form, add a Page Break item to the bottom of the form
- Add Hidden Field items to the last page for each non-mapping item
- Set each Hidden Field item’s Default value to the pipe code for one of the non-mapping items
- Return to Form Settings -> Integrations -> Mailchimp to map the Hidden Field items
- Save and test
Be sure to add content to the last page such as a Checkbox item for agreeing with terms and conditions.