Rename Files Uploaded to Forms with Zapier
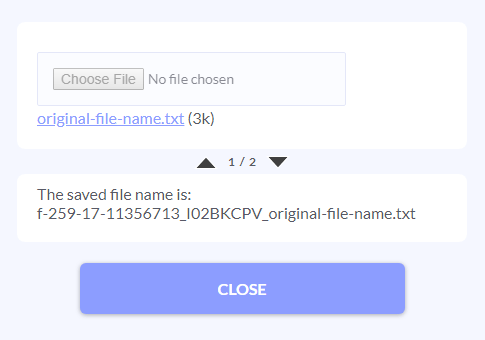 Formsite allows form owners at all service levels to use File Upload items on forms. Adding this item lets form visitors send a file attachment along with the form result. In order to prevent files with the same file name overwriting each other, Formsite adds some characters to the beginning of the file names. A frequent question we receive is how to rename files uploaded with the File Upload item.
Currently the files saved in the Formsite results are not able to be renamed, but using the Zapier integration with another service allows us to save or send a copy of the file using its original file name.
Zapier’s powerful tools help to work with the information in the form result. For example, using Zapier’s Formatter we can identify and extract the original name for uploaded files. Once the Formatter has identified the file’s name, form owners can continue using Zapier to send or store the file. Choices include sending via email, adding to Excel or Google Sheets, or copying the renamed file to Google Drive, Box, Dropbox, or any other supported file storage service.
Considerations & Limitations
The Zapier integration is available to Pro 1 and higher service levels and is required for this action to work. Additionally, the File Upload item allows for sending multiple files for each item, however, this guide requires one at a time. To set the File Upload item to allow only one file per item, set the max value to 1.
Steps to Rename Files
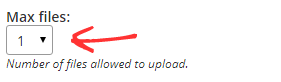 Start by creating the form with a File Upload item set with Max files set to 1
- Log in to Zapier and click Make a Zap!
- Choose Formsite as the Trigger App and continue setting up the trigger with the form
- After the trigger app is complete, Zapier asks for the
 Action App. Select the Formatter option under the Built-in Apps.
 - Choose the Text action, then select Extract Pattern
- Under Values, choose the File Upload item
- Under Pattern, use this regular expression to extract the original file name:

(?:.+\/)(?:[^_]*\_){2}(.+)
- Click Send Test to verify that only the file name remains
- Click Finish, then Add a Step to continue
Practical Use
To send a copy of the file to Google Drive with the original file name:
- Select Drive as the Action App
- Choose Upload File
- Connect to the Google account
- Complete the file location and specify file name settings, using the Text value as the custom name.
- Click Continue and Test to finish the Zap
Important Note
Services have different ways to handle files with the same names, so be sure to test your Zap to see what happens. For example, Google Drive will save both files with the same file name, but Dropbox has the option whether to overwrite and will save only the first file if it doesn’t overwrite.