How To Create an Online Application Form

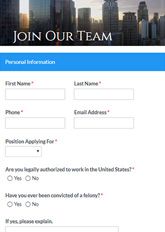
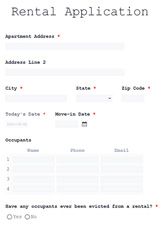
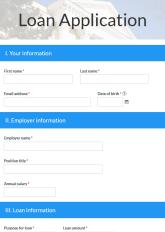
Application forms collect information from organizations and individuals seeking some type of placement. Examples of placement types include employment, an apartment, a loan, a spot on a university’s campus, or a booth at the county fair. Application form owners include businesses, landlords, educational institutions, craft fairs, banks, and more.
Form questions include contact information like name and email, plus information for the position. Building an online application form for almost any purpose or industry takes only a few minutes with Formsite.
Best General Practices for Creating Online Forms
Though there’s a wide variety of types of online forms, we still recommend a handful of best practices that apply to every form and survey. Following these tips will provide a better experience for form users and will also maximize completion rates. Our best practices for creating online forms include:
- Only ask for the information you need.
Gathering data unneeded by the form causes form visitors to doubt the form’s integrity and the integrity of the organization behind it. It will also reduce the completion rate for your form. For application forms, for example, only ask for information needed to assess the candidate for the open position. - Use the right form field items.
Different types of questions need specific types of answers. When you’re editing or building your online form, you want to tailor your question and field type to the type of answer you want to receive. For example, if you have a multiple choice question that you would like form visitors to select one answer from, use Radio Buttons or Dropdowns. Use checkboxes to allow visitors to give more than one answer to a question. When you want a visitor to answer a question in their own words, use a Short Answer or Long Answer item. - Use placeholder text to further explain form fields.
Sometimes an answer on your form may need specific formatting. When this is the case, add placeholder text to show an example answer. For example, Calendar items can include placeholder text like “MM/DD/YYYY”. - Keep form pages short and sweet.
It’s important to segment the form into manageable bites with page breaks to display only a few items at a time. Form visitors answer more completely when there are fewer questions in front of them. - Notify users about form errors immediately.
Forms will have low conversion rates if visitors see errors when they finish the form. Formsite alerts visitors after each page if the answers don’t meet the requirements. - Use a Success Page as confirmation instead of email.
Email confirmations may be common, but a large number get filtered to spam, too. Rather than risk a lost communication chance, we recommend using a Success Page to convey your message.
Best Practices for Creating an Application Form
Besides following the best practices for online forms, it’s important to also follow best practices for application forms. Doing so will help you streamline the application process while reducing applicant errors. It will also increase the chances of you finding the candidates you want. Here are the best practices for creating application forms:
- Optimize application form labels.
A label is a word or phrase placed above or next to the field that lets the form user know the form field’s purpose. You can optimize these labels by keeping them short and to the point. - Make your application form as mobile friendly as possible.
Formsite forms are automatically responsive and resize to fit the display size. Because many candidates will complete your form from their smartphone or tablet, it’s essential to make it easy to boost completion rates. Tips to increase your application form’s mobile friendliness include:- Break long application forms into shorter pages to reduce the need for scrolling.
- Avoid complex item types that don’t work well on mobile devices or that can’t fit on a small screen.
- No large images. They will likely take too long to load.
- Limit long answers that are difficult to type in using a small keyboard and will reduce completion rates.
- Make your company or organization’s privacy policy clear.
Be sure to state (and then follow) specific rules related to gathering applicants’ personal information. Add something like: “We are serious about security and will never sell, rent, or give away your personal information.” If your application form visitors include anyone in the EU, you will also need to make sure it is GDPR compliant. - Allow for file uploads and urls for resumes, CVs, cover letters, portfolios, and the like.
For applicants who have already created documents for their work and education history, it can be frustrating to have to re-enter it in an application form. Give candidates the opportunity to either upload the documents or point you to an online location for it, rather than fill out form fields one by one. - Don’t assume candidates want to opt-in to further communication from you.
By letting applicants agree to receive your email notifications, you build trust and a good reputation. Include an opt-in option (rather than an opt-out option) by adding a checkbox at the end of the application form with a choice like, “Agree to receive emails.” You can then set up the Notification’s conditional logic to send email only when the result contains that answer. - Allow applicants to save their application form and come back to it.
Some applications are short (like a community garden volunteer application), and some applications are very long (like college application or mortgage prequalification application). Regardless of the length, encourage more conversions by giving visitors the option to save their progress and return. - Optimize your CTA.
A good call to action will increase your application form completion rate. Optimize the colors to stand out from the application form and use action text that encourages submission like, “Send” or “Apply Now”. - Optimize Success Pages.
Following a successful application, visitors should know that you have received their application. Yet, your Success Page can do much more than say “We have received your application.” Optimizing your Success Page depends on the type of application form you create.
Depending on your application form goals, your Success Page can redirect applicants to a landing page on your website. You can also direct applicants to different pages on your website based on answers to the application form. For example, if a university applicant lists “theater” as the field they want to major in, your Success Page can redirect them to the Theater page. Whatever you choose to include on your Success Page, make it short, to the point, and mobile friendly.
Benefits of Formsite’s Online Application Forms
- Use one of our prebuilt application form templates.
The application form template you need might already exist in our expansive template library. Copy the template or start with a blank form, then edit with our drag and drop editor. You can add and remove fields, and customize the form so it reflects your business, event, or organization. - Embed application forms on your website without any coding experience or HTML knowledge.
Each application form you create gets a unique embed code. Form owners can copy and paste the provided code into their website’s code or through an HTML widget. Read more about embedding on your site at our knowledgebase article. - Build a talent pool.
Formsite’s Mailchimp, Constant Contact, and Zapier integrations make it easy to add opted-in applicants to your lists. Whether you send them newsletters or promotions, Formsite makes it easy to build an applicant pool and stay in touch with them for future needs. - Built-in payment integrations.
Simplify collected application fees. Formsite makes it easy to connect to payment processors like Authorize.net, PayPal, or Stripe. Collect application fees from credit cards, financial apps, echecks, and more using our Order Form tools. - Secure data collection and storage.
All data remains encrypted at all times when submitted through a Formsite form. This includes data collected during the form submission and submitted data “at-rest” in our database. Increase security even further with two-factor authentication and Sub-user permissions. - Take advantage of Integrations.
Our built-in Integrations connect to online services like Google Drive, Zapier, Salesforce, Google Sheets, and Microsoft OneDrive. - Our Workflow tool allows for customized data processing scenarios.
Pass data to other Formsite forms, co-workers, apps, services, and the like. Workflow makes it easy to trigger follow-up forms, approvals, and more.
6 Steps to Create an Online Application Form Without Coding
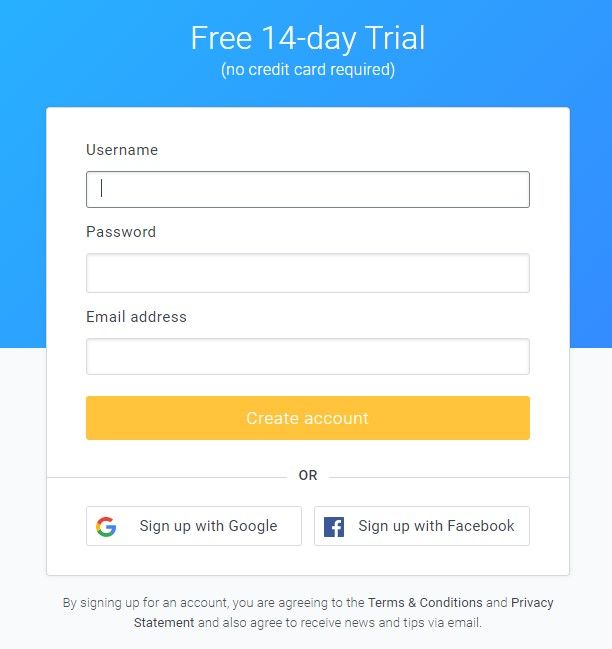
1. Sign up for a free account
If you don’t already have a free account, go to Formsite and click on the Free Trial or Sign Up Free button. After signing up, you’ll start in the free 14-day trial of our Pro 1 service. The Pro 1 service grants high limits for testing and access to all integrations, along with creating, editing, customizing, embedding, and sharing forms.
2. Create your application form
To create your application form, click the “Create New Form” button on the My Forms page below the Formsite logo. From there, either choose an existing form template or start with a Blank Form. Our template area has hundreds of online form templates, including job application form templates, organized by industry and type. Once you have made your selection, click the green “Create New Form” button at the bottom of the page and give the form a name.

3. Build your application form
Use the Form Editor to add, delete, and edit form field items, customize the styles or CSS, and add rules specific to your form. In the Build tab of the Form Editor you use our intuitive drag and drop editor to add, remove, and move form item as needed. Find Common Items, Formatting Items, Email Items, Order Form Items, Matrix/Grid Items, and Item Blocks.
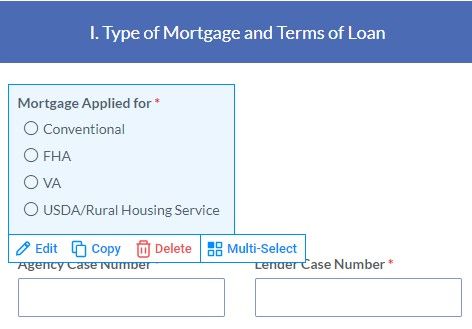
In the form editor, moving the mouse cursor over items in the form displays the edit menu for that item. Along the bottom of the blue box, you’ll see the links to “Edit”, “Copy”, “Delete”, and “Multi-Select”. These links allow you to edit the form item, copy it, delete it, or select with other items as a group. Choosing a group displays links (e.g. edit, copy, or delete) to affect the whole group. To move an item, hover over the form field with your mouse, then click and drag the form field to where you would like it to go.
4. Customize your application form
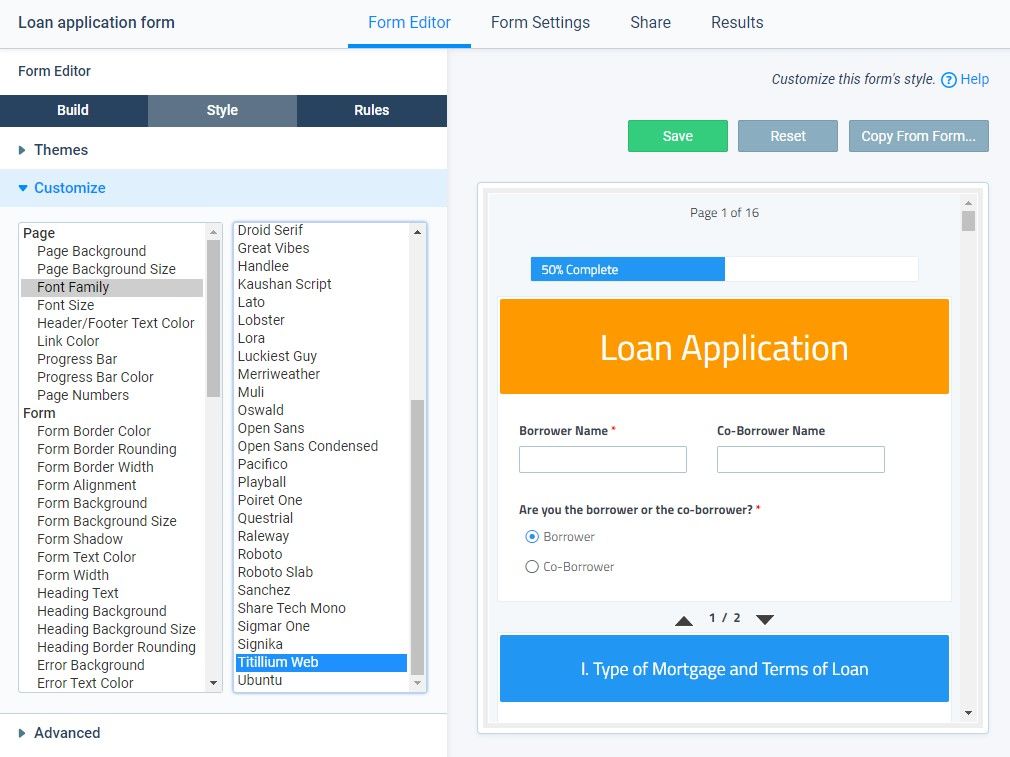
When your application form is complete, click the Style tab to edit the form’s appearance to align with your branding. Change fonts, colors, and images with the Style page’s Themes, Customize, and Advanced page. Use the Advanced page for CSS changes to your application form, if needed.
Under the Rules tab of the Form Editor, form owners can add rules to show and hide items. For example, if a job applicant doesn’t check a college degree box, you could set a rule that would then hide a question related to advanced degrees. You can also set rules to show different Success Pages based on applicants’ answers.
5. Test your application form
After completing your application form, test it by filling it out and submitting results to make sure everything works as it should. Feel free to make changes if needed and test again.
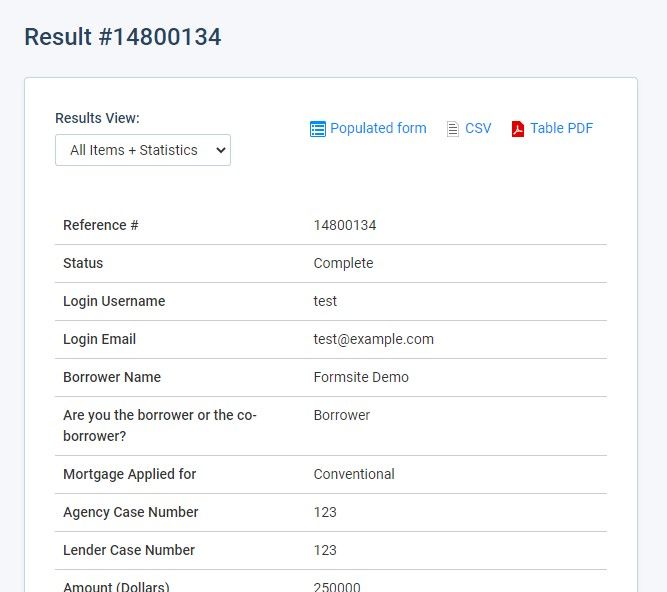
Go to the Results page and click on the view link to view the result. Does the result include the information you need to select or avoid a candidate? Did the rules you included in the application form trigger as you thought they would? Take many passes at the application with different answers to ensure every aspect of the form works as you intended.
If you’d like to know as soon as someone submits your application form, set up Notification emails. Choose to send to one or more addresses by listing them in the To field, and set the Reply-to field with your address.
6. Share your form
When you’re through testing, it’s time to embed it on your web page or share the link through email or social media. From the form’s Share page, find the direct link or the Embed Code. Copy and paste the Embed Code into your website code for a seamless form ready for visitors. For a WordPress site, use the Formsite WordPress plugin to embed your application form using a shortcode in templates, pages, or posts.
If you ever need help, click “Support” at the top of the page to find answers. Ask a question, check our knowledge base or blog, or email Customer Support. We’re here to make sure your application form is a success.
Building application forms, order forms, and registration forms with Formsite is easy. Get started today!