Offer Buy Now Pay Later for any Order Form

Formsite lets form owners collect payments for their orders using one of the integrated payment options. PayPal also offers their advanced payment methods like Venmo, PayPal Credit, and Pay in 4. Form owners can also set up their own ‘buy now pay later’ method and offer the option on any order form.
Buy Now Pay Later

There are a few ways to offer ‘buy now pay later’ for order forms including:
- Use the PayPal Business integration
- Enable the Pay by Check integration
- Offer the choice to ‘pay in full’ or ‘pay with installments’
By far the easiest way is to enable the PayPal Business integration. PayPal’s most current offerings have settings in the PayPal account and form owners can choose which ones to offer.
Another easy method for allowing later payments is the Pay by Check integration, which doesn’t technically require a check. The form owner can change the text to say ‘buy now pay later’, for example, with instructions for completing the payment.
Allow Pay in Full or Installments
The third method lets form owners offer the choice to pay in full or pay in a certain number of installments. This method requires two forms:
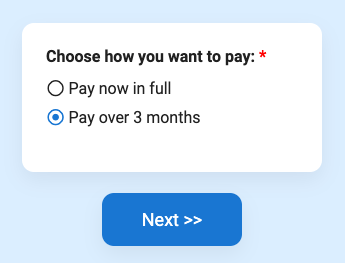
- Create Form A with the items you need, including order form items or calculation items. In this example we’re adding radio buttons to pay in full or in 3 monthly payments.
- Set up the Pay in Full option on Form A using the settings under Form Settings -> Payments. This is the default setup and will use Form A’s notifications and success page.
- Create Form B for the recurring payments. Add a Text Field Pricing item to collect the order total from the first form, along with any other data. You can send the result number from the first form, the visitor’s name and email address, and any other data.
- Go to Form B’s Form Settings -> Payments page and set up the recurring payment option. Be sure to set the frequency and the number of payments.
- Go back to Form A where we add the logic to either use Form A to Pay in Full or Form B for installments. First, drag a Page Break item to the end of your form to add a page before the end of your form. This is necessary to tell the system to skip the default Order Summary screen and you can place any content you want on that last page, such as terms and conditions or processing fees.
- Go to Form A’s Form Settings -> Success Pages and create 2 success pages: 1 for the default Pay in Full success and the other set to the Redirect URL format. For the URL, use the Pre-populate link for Form B, being sure to change the placeholder to the order total pipe code.
- Last, go to Form A and set the last Page Break item with a Rule to skip to the Redirect Success Page when the answer is multiple payments.