How to Create an Online Sign Up Form

Many organizations use online sign up forms to collect information allowing individual and group sign ups. Signing up gives access to products or services, or to become subscribers, join teams, get on newsletter lists, and others. Besides collecting information like name and email address, sign up forms also gather information for the activity or membership. Creating and customizing a digital sign up form for any purpose, group, or industry is simple with Formsite.
Best Practices for Creating Online Forms
Online forms gain from a handful of best practices that apply to every type of form you might create. Following these best practices provide a better user experience and increase completion rates. Here are Formsite’s best practices for creating online forms:
- Don’t gather information you don’t need. People need to feel confident to share their information online. When forms seek data not related to the form topic, visitors will doubt the form’s legitimacy. They will also likely question the reputation of the organization behind the form. Also, the form will see reduced completion rates.
- Choose the right form items. When you’re editing or building your online sign up form, edit the form items to generate the answers you’re looking for. For example, use Radio Buttons or Dropdowns with multiple choice questions to limit responses. Checkboxes allow respondents to give more than one answer to a question. When you want a sign-up form visitor to answer a question using text, a Short or Long Answer item is best.
- Use placeholder text. Whether you’re creating an email sign up form or a registration form, it’s common to ask for answers that need specific formatting. When this occurs, placeholder text can communicate what the form user should do. For example, for an Address field you can include placeholder instructions to not abbreviate street names.
- Keep form pages as short as possible. Break questions and form fields up throughout your form with page breaks to encourage completion. By showing a few items at a time, form visitors become invested early in signing up. Then they don’t feel overwhelmed at the number of form items they might need to fill out.
- When an error occurs, notify the user immediately. It’s frustrating to go through an entire process only to discover at the end that there’s an error and need to start over. Don’t do this to your visitors! Formsite alerts visitors after each page if the answers don’t meet the requirements

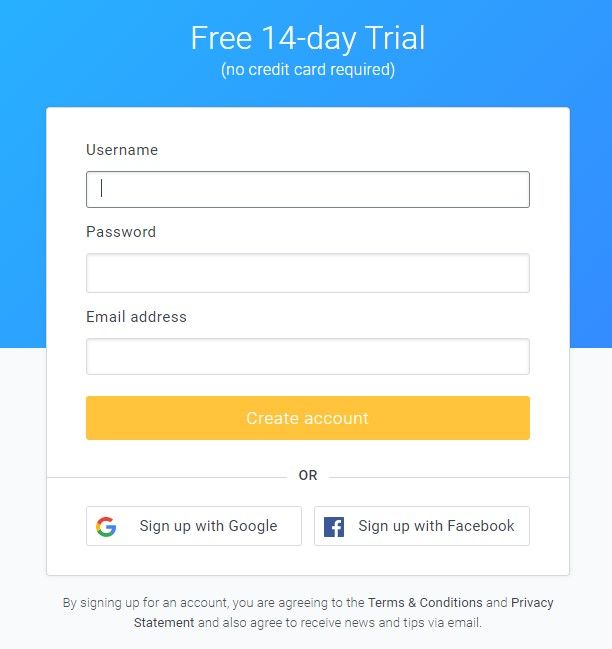
- Optimize your call to action (CTA). A good CTA is central to a form’s completion rate. Optimize the colors in your CTA button, so they stand out from the rest of your signup form. Also, choose language that encourages submission like, “Sign Up Now”, “Start Your Free Trial Now”, or “Join Now”.
- Use Success Pages. Confirmation and Thank You emails often end up in spam folders. To ensure your form submitter knows you received their submission, we recommend using a Success Page. We make it easy to create one.
Best Practices for Creating Sign Up Forms
Best practices for sign up forms include the tips above, but there are others as well. Here are some of our best practices specific to creating sign up forms:
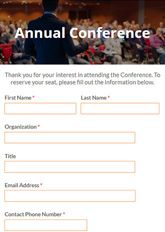
- Keep it simple. Whether someone is signing up for a free product trial, a newsletter subscription, or a tee ball team, doing so should be easy. Use simple language, relevant images, and clear form field labels.
- Make your sign up form mobile-friendly. All Formsite forms embrace responsive design and are mobile friendly by default. Form owners can increase the likelihood of successful results by following these tips:
- Reduce the need for excessive scrolling by keeping page lengths short.
- Some of our more complex item types (like Matrix or Multi-scale items) won’t fit on a small screen. Don’t use them unless necessary.
- Keep image sizes small. Large images will take too long to load.
- Choose multiple choice answers instead of typed answers if possible. Using the mobile keyboard will reduce completion rates.
- State your privacy policy. Be clear about why you need personal information and how you will use it. If you expect to sign up anyone from the UK or EU, you will need to also make sure your form is GDPR compliant.
- Offer value. Especially effective with lead generation, sign up forms should offer a form visitor something of value for their information. Whether that’s a free trial, a free template, or some other offering, you’ll encourage submission with a little quid pro quo.
- Communicate after submission. Following a successful sign up result, respondents should know without a shadow of a doubt that their submission is a success. Formsite’s Success Pages let form owners add a ‘thank you’ message along with any follow-up instructions. For example, if the form provides a download or access somewhere then consider adding it to the Success Page.
Benefits of Formsite’s Online Sign Up Forms
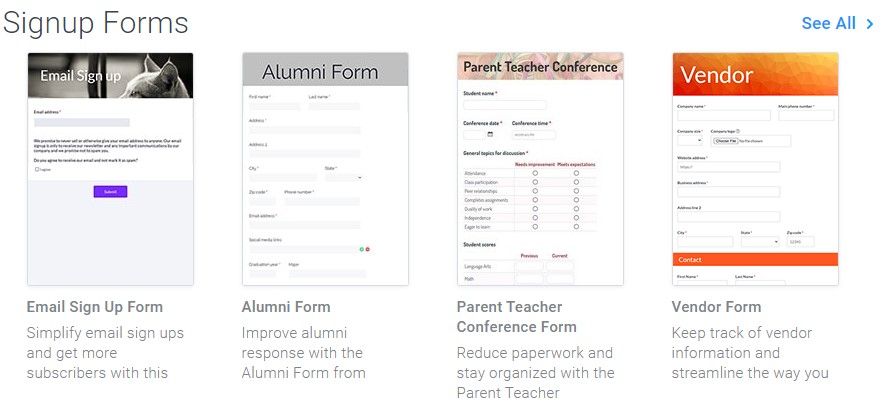
- Hundreds of prebuilt form templates. The sign up form template you’re looking for might already exist in our large template library. If it doesn’t yet, you can start with a blank form and use our drag and drop editor to create the exact form you want.
- No coding experience or HTML knowledge required. Our drag and drop editor makes editing and customizing our forms easy. With Formsite, you don’t need a programmer’s background to create the forms you need.
- Embed sign up forms on your website easily. Each sign up form comes with a unique embed code to copy and paste into your website’s code. WordPress sites can use our plugin to make it even easier. See how it works.
- Effortless payment integrations. Do you need to collect fees with your sign up form? Formsite has built-in payment integrations with payment processors PayPal, Authorize.net, and Stripe. You can easily collect fees, membership dues, and other payments from credit cards, financial apps, echecks, and more.
- Secure data. All data submitted through a Formsite sign up form uses the secure ‘https’ connection during all form submissions. Data stored in our database including any uploaded files are also encrypted at all times. Form owners can choose to add two-factor authentication and permissions for Sub-users for even more secure access.
- Dozens of Integrations. Formsite’s built-in Integrations allow form owners to pass form data to online services. Examples include Salesforce, Google Sheets, Google Drive, Microsoft OneDrive, and Zapier.
- Our Workflow tool. Pass data submitted in one form to other Formsite forms to build useful Workflows. Connect coworkers, customers, online apps, services, and more with data using Workflow.
6 Steps to Create an Online Application Form Without Coding
1. Sign up for your free Formsite account
On the Formsite homepage, click the Free Trial or Sign Up Free button and sign up for an account. That creates your account and starts the free 14-day trial of our Pro 1 service that allows you to create, edit, customize, embed, and share forms. It will also give you access to all our integrations and high limits for testing.
2. Create your sign up form
To create your sign up form, click the “Create New Form” button located below the Formsite logo at the top of the page. Choose either an existing form template or start with a blank form. Click the green “Create New Form” button at the bottom of the page, give your sign up form a name, then click the “Create” button.
3. Build and style your sign up form
The Build tab of the Form Editor is where you use our drag and drop editor to add, edit and remove form fields as needed. Use the items under Common Items for most of the form input needs. The other sections include specialty items, like Formatting Items and Email Items.
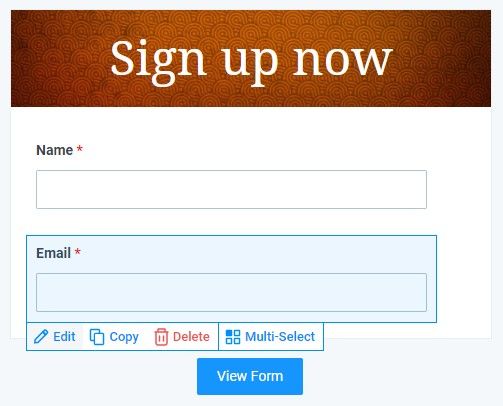
In the form editor, moving the mouse cursor over items in the form displays the edit menu for that item. Along the bottom of the blue box, you’ll see the links to “Edit”, “Copy”, “Delete”, and “Multi-Select”. These links allow you to edit the form item, copy it, delete it, or select with other items as a group. Choosing a group displays links (e.g. edit, copy, or delete) to affect the whole group. To move an item, hover over the form field with your mouse, then click and drag the form field to where you would like it to go.
Click the Style tab to work on your sign up form’s appearance. Change fonts, sizes, and colors so the form aligns with your branding using the three sections in the Style tab: Themes, Customize, and Advanced. If you do have a programmer working on your form, you can make CSS changes in the Advanced section of the Style tab.
4. Set the rules for your form
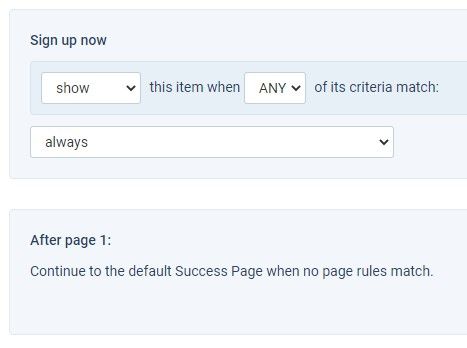
The Rules tab lets form owners add logic rules specific to their form items and pages. For example, add follow-up items that show when visitors give specific answers. Add every possible follow-up item then set rules on each one to show when the previous question has the correct answer.
You can also use rules to skip to later pages or trigger different Success Pages based on submitted answers. To add a page rule, click the gray “+ Add Page Rule” button after the page where the logic should occur. Choose the answer to watch and the page or Success Page to skip to, then click save.
After your form is complete and you’ve added any needed rules, click the “View Form” button to see the actual form.
5. Test your sign up form
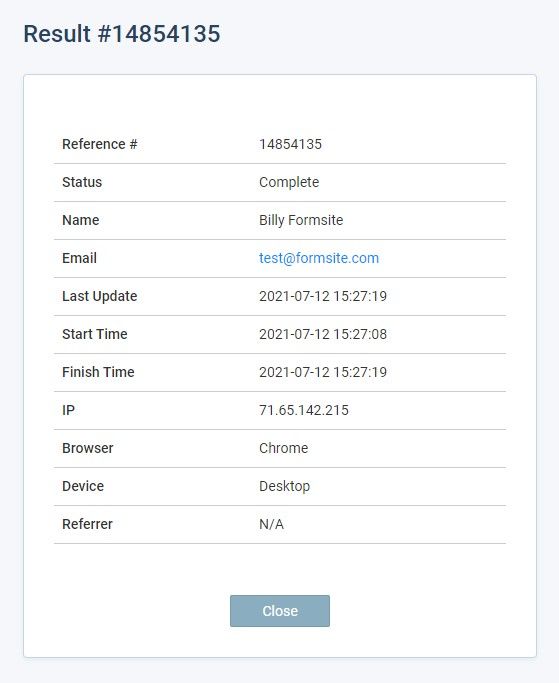
To test your sign up form, view the form, fill it out, and submit it. Next, click on the “Results” link to see the submitted results in the Results Table.
Once in the Results Table, click on the result’s view link to see the answers entered into your sign up form. Do the results include the information you expected? Did the rules trigger as you expected? Be sure to test your form as many times as necessary to ensure it works the way you want. If you come across any problems, go back into the Form Editor to make changes.
Form owners can also set up Notification emails to receive an email after each new sign up form result. You can also enable Integrations to send the submitted form data to other services and apps.
6. Share your form
Once testing is complete and you have set up any Notifications or Integrations, you can start collecting results. Find the form’s unique Form Link on the Share page, or embed your new sign up form on your web page. To embed your form, click on the form’s Share link, click “Embed Code”, then copy and paste into your site’s HTML.
Once complete, your sign up form appears on your site and visitors can fill out and submit. If you have a WordPress site, you can install our plugin, then go to Share -> WordPress to get the shortcode for your form.
If you ever need help while creating your sign up form, click the Support link in your Formsite account. From there, you can email Customer Support, ask a question, or check our knowledge base or blog.
Building sign up forms, order forms, registration forms, and application forms with Formsite is easy. Get started with Formsite today!