How to Make a Website Email Form

Website owners use online forms for many purposes including registrations, orders and payments, and contact forms. One feature shared by virtually all forms is the need to send email after submitting the form. Formsite makes it fast and easy for site owners to add a website email form.
Best Practices for Website Email Forms
There are recommendations for online forms and surveys for the best experience for visitors and to maximize completion rates.
Only ask for information you need.
Collecting more information than needed puts visitors on edge and leads to questioning the form’s legitimacy. Only ask for information you need and consider making other information optional.
Use the right question type.
Many form items collect answers in a certain format so consider that when building the form. For example, when collecting the email address be sure to use the Email Address item.
Use Radio Buttons and Dropdowns for questions that collect only one answer. Checkboxes collect more than one answer per question. Text input items include Short Answer and Long Answer items, the Number item, and some other order form items.
Smaller is better.
Website email forms need to be easy for visitors to use. The best customer service lets customers send a message without unnecessary extra fields.
Use a Success Page, not a confirmation email.
Email has become very personal and messages with a simple “Thank you” are commonly marked as spam. Our recommendation is to use a Success Page instead of the email unless there’s a reason for the email message.
Steps for Building a Website Email Form
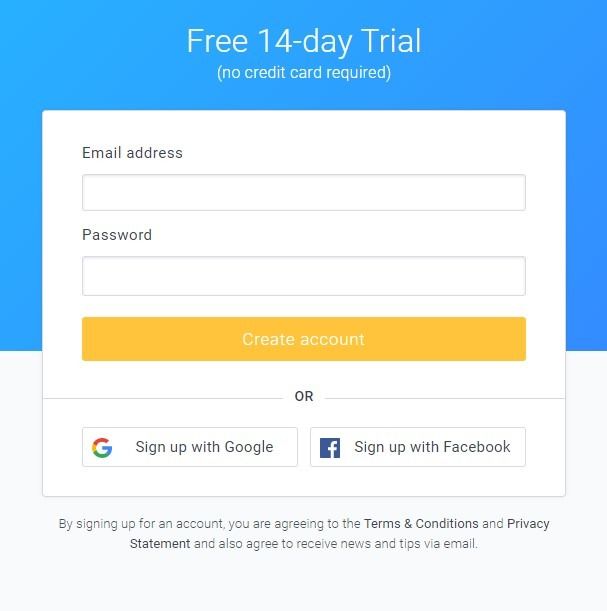
1. Open a free account at Formsite.com
If you don’t already have an account, go to Formsite and click the Sign Up Free or Free trial button. You’ll start the free 14-day trial of our Pro 1 service where you can create forms, have high limits for testing, and access to all integrations.
2. Create the website email form
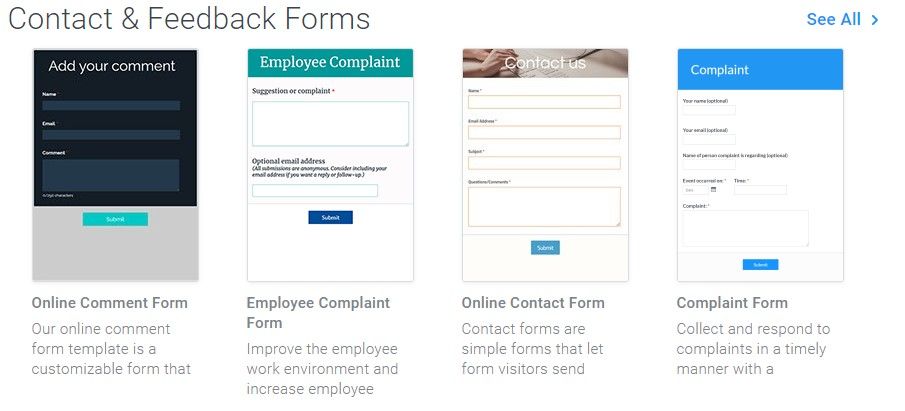
Click the Create New Form button and browse the templates or start with a blank form. Our template area has hundreds of online form templates you can look through for examples of questions or styles that suit your needs.
When you find one you like, choose that template or the Blank Form template and click the button to make a copy in your account.
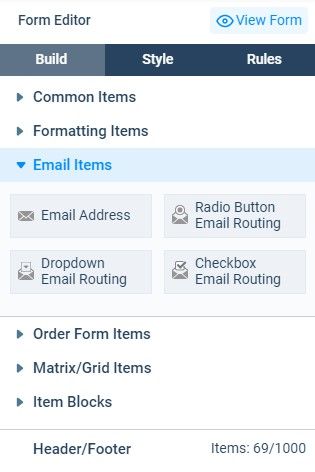
3. Use the form builder
Use the Form Builder with our drag and drop editor to add, edit and remove form fields as needed. This section of the form editor shows what your website email form looks like as you make changes.
Use the items under Common Items for most of the form input needs. The other sections include specialty items, like Formatting Items and Order Form Items.
4. Customize your form
Use the Style pages to set your form’s appearance to match your brand. Use Themes to apply fast premade settings and the Customize settings to set every part of the form’s appearance. Change the fonts, colors, and sizes and see the form’s preview area for instant feedback. Advanced users can use the Advanced page to make changes to the form’s CSS settings.
The Rules page lets form owners show or hide items based on answers to questions in the form. Page rules allow for skipping pages or directing visitors to specific Success Pages. To add a rule, click the gray “+ Add Item Rule” button or the gray “+ Add Page Rule” button. Choose the question you want to watch, set the condition, then click the green “Save” button.
5. Set up the email settings
Go to the form’s Form Settings -> Notifications page to tell the form what to send when it’s submitted. Each Notification sends to either one or more defined email addresses or a single Email Address item in the form. To do both, make a copy of the Notification and set the To fields for each one. See more about Notifications in our support documentations.
6. Test your form
After the email form is complete, test it to make sure everything works as you expect. Click the View Form button and fill out the form as a user would. Once you’ve filled in all the fields, click the button at the bottom to submit.
7. Embed your form
After testing the email form and setting up the Notifications, you’re ready to embed into your site. Go to the Share -> Embed Code page to see the embed code, then copy and paste into the code in your site where you want it to appear. If you have a WordPress site and you’ve already installed the Formsite WordPress plugin, click on the WordPress link for the short code.
If at any time you need help while building, testing, or sharing your registration form, click the Support link at the top of your page. You can check our knowledge base or blog for answers, or email our Customer Support team for help.