How To Create An Online Donation Form

Whether you’re a nonprofit organization engaged in fundraising efforts or you need a way to process sponsorship applications for your next big event, Formsite makes it easy to create, customize, and embed donation request forms. Our donation form templates allow you to seamlessly collect contact information and payment information from donors, sponsors, patrons, and members.
Our donation request form can be embedded right into your website’s donation page, or shared over email or social media for maximum effect and reach. With our straightforward and intuitive drag and drop editor, it will only take a few minutes for you to create the online donation request forms you need.
Best Practices for Creating Online Forms
Every form and survey differs depending on the organization or business behind the form, the organization or business’s industry, the purpose of the form, etc. Still, there are some best practices that improve any form’s effectiveness and conversion rates. To ensure you create successful forms and surveys, follow these tips:
- Don’t ask for more information than you need.
When organizations collect information on forms that don’t relate to the purpose of the form, it creates doubt in donors’ and customers’ minds. That doubt reduces the likelihood that they’ll complete and submit the form. When form owners only ask for the information needed like name, mailing address, email address, and phone number, and refrain from asking for unnecessary information, they assure potential donors and patrons that the form they’re filling out—and, by extension, their business, service, or organization—are trustworthy.
- Make sure you use correct item.
Some form questions require specific form items or the form won’t work as intended. For example:- If you’re creating a donation form for a fundraising campaign that requires a form user’s email address for tax-deductible receipting purposes, you’ll need to be sure to use an Email Address item.
- If you want form visitors to select between a set number of answers for a particular question, use a multiple-choice item like Radio Buttons, Dropdowns, or Checkboxes.
- To allow visitors to answer a question with text, choose a Short Answer, Long Answer, or Number item.
- Keep it short.
Displaying only a few items at a time (or even just one per page) makes completing the form easier. Short form pages allow form users to better concentrate on what they see.
- Use placeholder text.
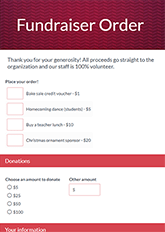
When an answer needs specific formatting like a donation amount, for example, use placeholder text to show how to enter the answer. For example, for the field where a donor would enter their charitable donation amount, add placeholder text like this: $000.00.
Best Practices for Creating Online Donation Forms
In addition to the universal tips for all forms and surveys listed above, donation request forms come with their own best practices. These keys will help you streamline the donation process, reduce form user error, and increase the likelihood of complete donations. Best practices for creating online donation forms include:
- Keep things short and simple.
While you may have a lot of information you’d like to share regarding your fundraising event or charity auction, keep your donation form as short as possible. Gather essential information only. Simple donation forms will convert more often.
- Order form items from simple to most complex.
Completing smaller tasks first establishes buy-in throughout the form, so visitors are more likely to continue filling it out, even as fields get more complex. Create early ‘wins’ by asking for more easily given information like name and email address.
- Reduce unnecessary work.
Avoid asking potential donors to do more work than they have to. For example, give form users the option to select a checkbox when contact and billing addresses are the same so they don’t have to enter the same information twice.
- Optimize donation form item labels.
Every donation request form is made up of form items and each item should be labelled clearly. Optimize labels by keeping them short and to the point.
- Make your donation form mobile-friendly.
All Formsite forms are automatically responsive to work on smartphones and tablets. To ensure your form remains as mobile-friendly as possible:- Keep pages short – Scrolling decreases completion rates.
- Avoid complex items – Complicated items can be too difficult to make sense of on a small screen.
- Use smaller images – They can take too long to load.
- Use QR codes on printed materials – QR codes are easy to scan and open your donation form rather than type the address using a tiny keyboard.
- Clearly state your organization’s privacy policy.
Donors and patrons need to know that their payment information and contact information is safe, so state your privacy policy clearly. Include a simple statement like, “We take your privacy seriously. We promise to never sell or give away your information, and all donations are 100% encrypted.” If needed, link to a more extensive privacy policy on your website.
- Let donors, sponsors, and patrons opt-in for future communications.
These days, automatically adding your donors to an email list is a fast way to get blocked as spam. Add a Checkbox item so they can choose to join your list, then use the Notifications’ conditional logic to send emails only when the box is checked.
- Use the Success Page for more than giving thanks.
Go beyond “Thank you for your donation/sponsorship” with your Success Page. Use the Success Page as a receipt and add instructions to print or save for their records. You can also redirect donors and patrons to another part of your website using the Redirect URL format. If your donation form has different donation tiers or categories, consider making targeted Success Pages with Page Rules to direct visitors to the correct one.
- Have a great CTA.
A good call to action is essential for donation request form conversions. Create a button that stands out and says exactly what you want a form user to do. For example, “Donate Now” or “Choose a Sponsorship Level”.
Benefits of Formsite Online Forms
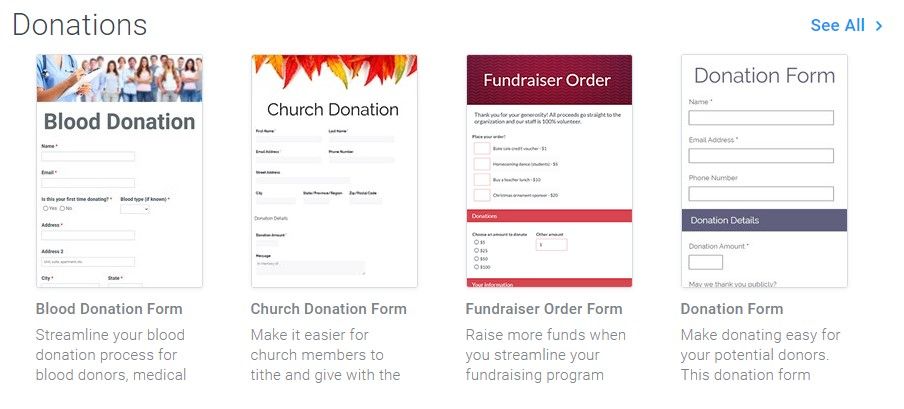
- Formsite offers hundreds of prebuilt online form templates.
The exact donation form you need might already exist in our template library. Using our drag and drop editor, you can easily edit fields and add customizations to your donation form until it accurately reflects your brand and needs. If you don’t see a donation form template that works for you in our template library, use our online form builder tool to make what you need from scratch.
- Embed your online donor form right on your website — no coding or HTML experience is needed.
Each Formsite form has a one-of-a-kind embed code that form owners can copy and paste directly into their site’s code or, if you use a WordPress site, the embed code can be added through an HTML widget.
- Build your marketing list for donors who opt in to receive further communication.
Our Mailchimp, Constant Contact, and Zapier integrations make it easy to include donation form visitors to your other marketing lists.

- Versatile and seamless payment integrations.
We help you simplify the checkout process with easy connection to payment processors like PayPal, Authorize.net, and Stripe. Make it easy to donate with credit and debit cards, PayPal, Venmo, PayPal Credit, Pay in 4, and other payment methods from around the globe.
- Encrypted data collection and storage.
Formsite encrypts all data during the donation form submission process and all data at rest in the database. Increase security further by using two-factor authentication and Sub-users.
- Send data to other apps.
Our built-in Integrations make it simple to connect to other online services like Google Drive, Google Sheets, Salesforce, Microsoft OneDrive, Zapier, and more.
- Use our Workflow tool.
Formsite’s Workflow features let form owners connect forms and pass values using a Workflow link in a Notification email. Perfect for approvals and other sequential processes.
Steps to Create an Online Donation Form
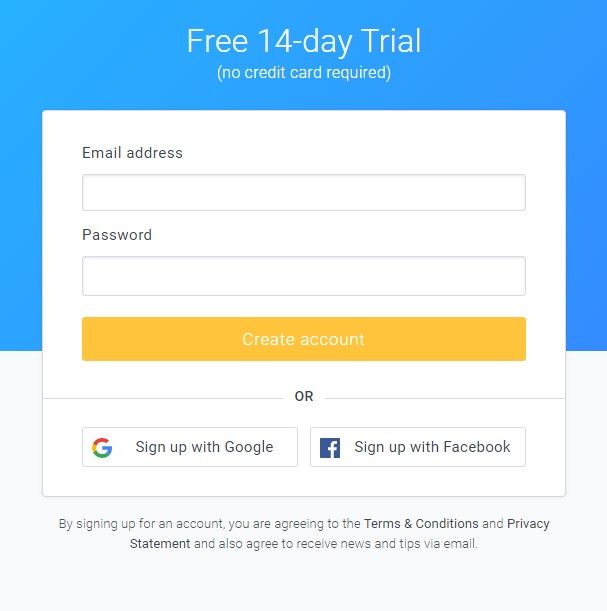
1. Sign up for your free account
Go to Formsite, and click the Sign Up Free or Free Trial button. Once you’ve signed up, you’ll immediately start the 14-day Pro 1 trial. Build and test donation forms, access the payment processors and integrations, and get high testing limits.
2. Create your donation form
Click the “Create New Form” button on the My Forms page, then browse through our template library to see examples of questions, styles, and functions to meet your needs. When you’re ready to get started, either choose an existing form template or select a blank form to build your own. Once you have made your selection, click the green “Create New Form” button at the bottom of the page then give your new form a name. Enter something to make it easy to identify, then click the green “Create” button to proceed.
3. Build your donation form
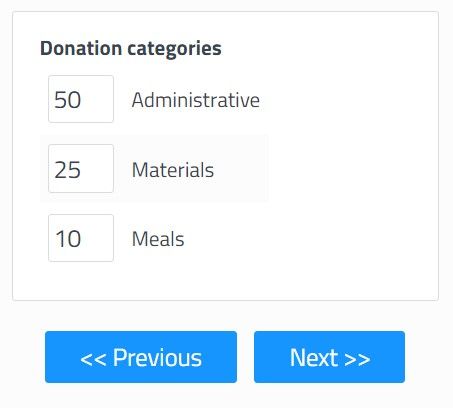
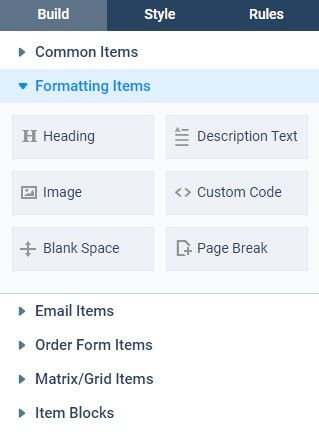
The Build tab of the Form Editor is where you use our drag and drop editor to add, edit and remove form fields as needed. This section of the form editor shows what the donation form looks like as you make changes. Use the items under Common Items for most of the form input needs, and the other sections include specialty items, like Formatting Items and Order Form Items. For donation forms, use the Order Form items to allow adding pricing and quantities to choices.
In the form editor, moving the mouse cursor over items in the form displays the edit menu for that item. Along the bottom of the blue box, you’ll see the links to “Edit”, “Copy”, “Delete”, and “Multi-Select”. These links allow you to edit the form item, copy it, delete it, or select with other items as a group. Choosing a group displays links (e.g. edit, copy, or delete) to affect the whole group. To move an item, hover over the form field with your mouse, then click and drag the form field to where you would like it to go.
4. Customize your donation form
Use the Style pages to transform your form’s appearance to match your brand. Use the Themes to apply fast premade settings, or use the Customize settings to set every part of the form’s appearance. Change the fonts, colors, and sizes and see the form’s preview area for instant feedback. Advanced users can use the Advanced page to make changes to the form’s CSS settings.
The Rules page lets form owners show or hide items based on answers to questions in the form. Page rules allow for skipping pages or directing visitors to specific Success Pages. To add a rule, click the gray “+ Add Item Rule” button or the gray “+ Add Page Rule” button. Choose the question you want to watch, set the condition, then click the green “Save” button.
Use the Form Settings pages to set Notification emails, Success Pages, and the Integrations. Notifications send emails after receiving successful results as real-time alerts and confirmations. Set Success Pages to display content or forward visitors to other pages, and set the integrations to continue the process.
5. Test your donation form
After the form is complete, test it to make sure everything works as you expect. Click the View Form button and fill out the donation form as a donor would. Once you’ve filled in all the fields, click the button at the bottom of the form to submit.
Click the Results link to see the answers in each form result. Click the view link to see the answers entered and selected in the form result. Did you gather all the information you need to complete the donation? Did the rules trigger as you expected? Go back to the form editor to adjust your form as needed.
6. Share your donation form
Once your donation form is right and the Notifications and Integrations have been tested, it’s time to embed your donation form on your web page. To do this, click the Form Settings link, click Share, then click Embed Code. Copy the code, and follow these instructions to display your donation form on your website.
WordPress site owners can install the Formsite WordPress plugin, then go to the Share -> WordPress page for the shortcode. If at any time you need assistance with your donation form, click the Support link at the top of the page. You’ll be able to check our knowledge base, read our blog, or contact our Customer Support team for fast support.
Building donation forms with Formsite is easy. Get started today!