Integrate Online Forms with HubSpot
Formsite connects with thousands of online services to make custom integrations. Using Zapier with Formsite lets form owners collect data then pass the data to continue the workflow. One of the most powerful tools available is HubSpot, software for online sales, marketing, and customer service.
HubSpot is a place to track online sales and marketing efforts to help grow your business. Their CRM system helps to control leads and contacts, too. Their customizable dashboard and report system is an awesome tool to use with Formsite forms.
Building the system with Zapier to connect Formsite with HubSpot is a snap.
Start with the Form
The process for connecting Formsite to HubSpot uses Zapier and always starts with the form. Build a new form or use an existing form to collect the data needed to pass to HubSpot. Examples include lead generation forms, meeting scheduling, surveys, and service ticketing.
When the form is complete, click the View Form button and complete an example result. This test result provides sample data for Zapier during the setup process.
Configure HubSpot Account
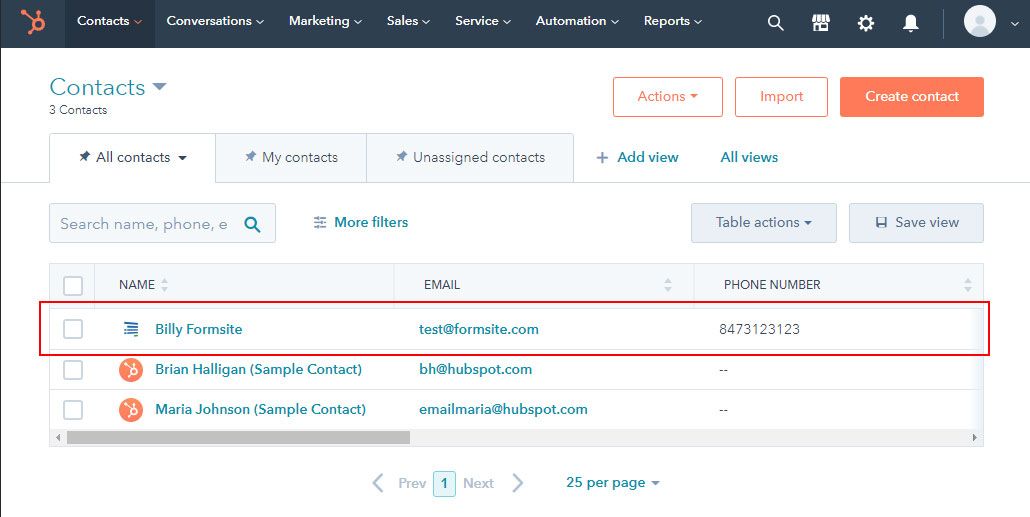
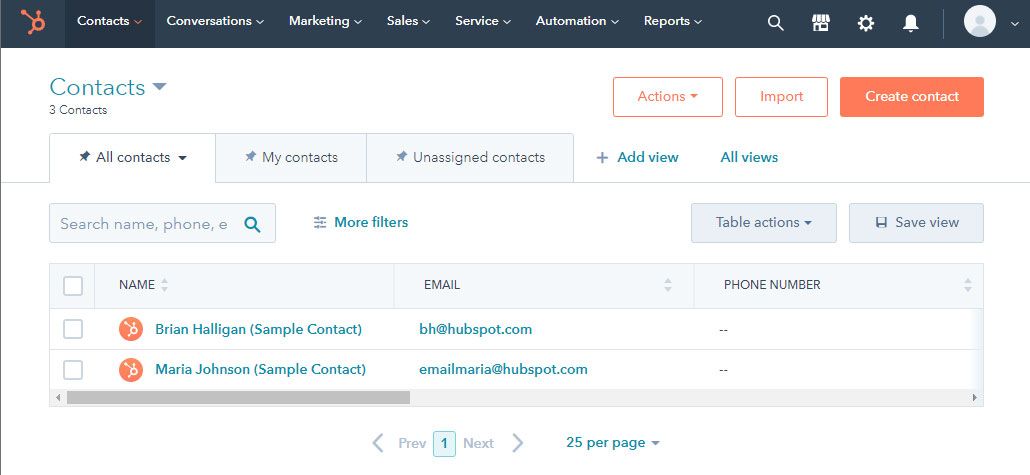
Log in to a HubSpot account or create a new account if needed. I’ve chosen the CMS Hub and my Formsite form will create new contacts.
Completing the Zap
Log in to Zapier and click the Make a Zap button
Trigger:
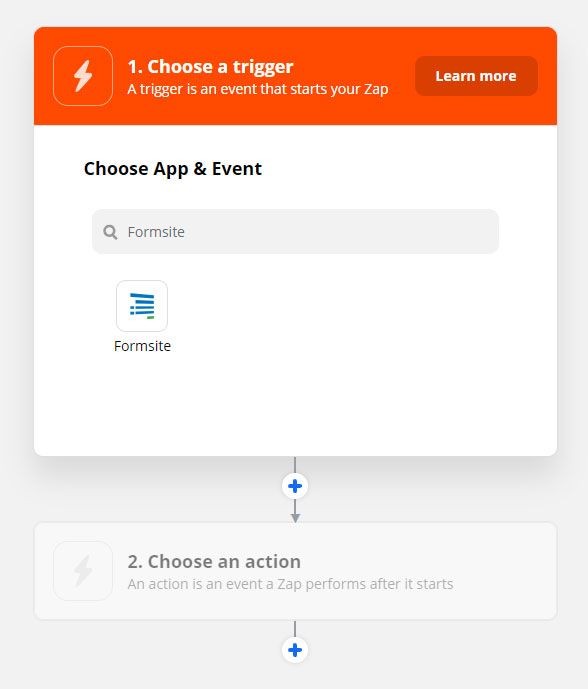
- Choose App & Event: Type Formsite into the search box, then click the Formsite button
- Trigger Event: New Form Result
- Choose Account: If this is your first time using Zapier with Formsite, you will need to click the ‘add a new account’ link. Select your Formsite account.
- Customize Form Result: Click the dropdown to choose the form you made earlier.
- Find Data: Click the Test Trigger button to retrieve the test result from the form.
Action:
- Choose App & Event: Type HubSpot in the search box and click the logo.
- Action Event: Choose the action needed. Examples include:
- Create, update, or get a contact
- Create or update deal, company, product, etc.
- Add or remove contacts from lists
- Create events or calendar tasks
- Choose Account: If this is your first time using Zapier with HubSpot, you will need to click the ‘add a new account’ link. Select your HubSpot account and complete the authentication.
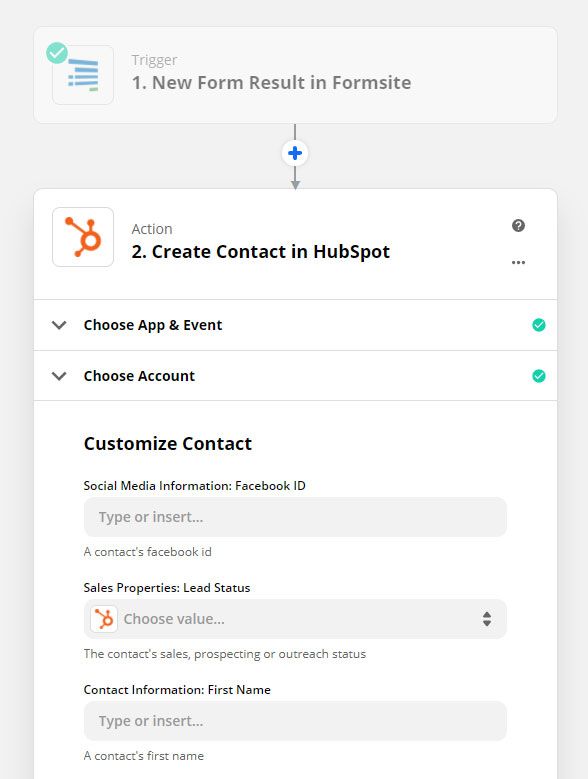
- Customize Record: Click the dropdowns to choose what form data to send to which HubSpot fields.
Zapier retrieves the record’s data points from HubSpot and lists them in the Zap. This step requires that you choose or type the data to include. For example, for the “Contact Information: Email” field I click the field and select the “Email” item from the form.
Send Data:
Click the Test and Review button to send the sample form result to HubSpot and confirm that the settings are correct. If all is working as expected, click the button to turn on the Zap.