How to Create an Online Registration Form

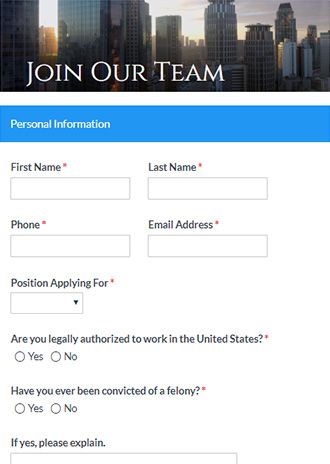
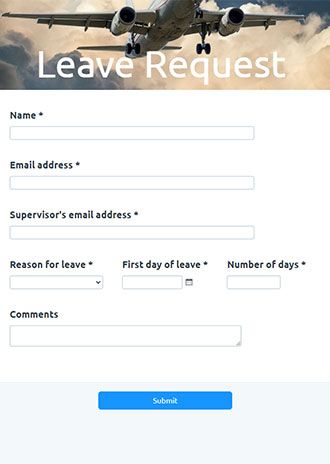
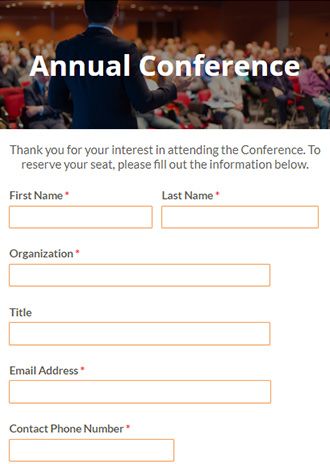
Registration forms collect information and let people sign up for events and groups. These forms collect basic contact information plus details required for further categorization. Examples include clubs, team sign-ups, webinars, sweepstakes, event registration forms to name a few. Building a registration form takes just a few minutes with Formsite.
Best Practices for Creating Online Forms
Online forms have general rules we recommend for virtually every form and survey. Our tips provide an easier experience for visitors and maximize completion rates. These rules include:
- Only ask for answers you need.
Collecting information unrelated to the form puts visitors on edge and causes them to question the form’s legitimacy. Only ask for information that someone signing up would need for identification at the event. - Use the right input item.
Some questions ask for answers of a certain type, so use the right item for the job. For example, email addresses need the Email Address item to use that address. Radio Buttons and Dropdowns let visitors give one answer out of many, and Checkboxes allow more than one answer. Text input items are the Short Answer and Long Answer items. - Keep pages small.
Use Page Break items to add pages to the form and display a few (or even one) items on each page. The fewer items the visitor sees, the more they can concentrate on the answer. - Use extra information or placeholder text.
If the answer needs specific formatting, add placeholder text as an example. You can also add instructions to the item’s label or using the “Use extra pop-up instructions…” setting. - Create a Success Page instead of using confirmation emails.
Email has become very personal, and messages with a simple “Thank you” are commonly marked as spam. Our recommendation is to use a Success Page instead of the email unless there’s a reason for the email message.
Best Practices for Creating Registration Forms
Besides the general rules listed above, registration forms come with their own tips and best practices. These help you streamline your registration process, improve conversions, and generate more leads.
- Don’t waste anyone’s time.
People are busy, so when it comes to creating registration forms, only ask for the information you actually need. Registration forms that seek extra information seem untrustworthy and suspicious. Our advice is to keep it simple. If any of Formsite’s sample registration form templates include items you don’t need, remove them. Some of the most critical form items to include are name, email address, phone number, and number of registrants. - Optimize your form’s labels.
An item’s label is the word or words above or below it that describe the function and purpose of the form field. Optimize these labels by keeping them short and to the point. For example, don’t use the label “email address” when you can use “email”. - Make it mobile friendly.
All Formsite forms are responsive, but doing more for mobile visitors will elevate conversion rates. Here’s how to increase mobile friendliness:- Split long forms into shorter pages with Page Break items to reduce scrolling.
- Avoid complex item types (e.g. Matrix or Multi-Scale). They can be difficult to interact with on a mobile device and sometimes can’t even fit on a mobile screen.
- No large images. They can take too long to load.
- Use your form’s QR code when you share it.
- Use fewer fields on more pages.
Breaking up a registration form across pages can increase the likelihood of people completing it. It can also increase focus, which can yield better information throughout the form.

- Allow for registering multiple people.
Use one of our built-in methods to collect registrations for multiple people. These methods include the repeating page rule and restarting the form, among others. - Use Inventory to prevent overselling.
Some events have limited space so controlling the number of attendees is important. Inventory allows for setting the maximum number of tickets or seats available. - Clearly state the privacy policy.
Be sure to establish and follow rules for using registrants’ email addresses. For example, add a Description Text item with the text: “We take your privacy seriously. We promise to never sell or give away your email address.” - Provide an opt-in method.
This allows registrants to agree to receive your email notifications and know what to expect. For example, add a Checkbox item with the choice “Agree to receive emails”. The Notification can then be set with the conditional logic to send only when the result has that item checked. - Have a great CTA. A good call to action is essential for order form conversions. Create a button with colors that stand out and a clear action, whether it’s, “Register Now”, “Sign-up”, or “Complete Registration”.
- Optimize your Success Page. The Success Page shows after submitting an order form and it should do more than say “Thank you.” For registration forms, it’s important to confirm the registration information, especially the day and time of the event. Depending on your goals, your Success Page can redirect respondents to a landing page on your website. You can also direct visitors to a page on your website with content that aligns with their registration choices. Using copies of Success Pages and page rules, form owners can set up many paths based on their answers.
Benefits of Online Registration Forms
- Embed on your site with no code experience needed.
We provide a unique embed code for every form you can copy and paste for easy embedding. Add using an HTML widget or directly into your site’s code and it just works. Creating a registration page has never been easier. - Build email marketing lists by subscribing registrants who opt in.
Use the Mailchimp, Constant Contact, or Zapier integration to sign up visitors. Send email addresses and any other information to build your list. Registration forms are also contact forms so be sure to collect key information like phone number, email address, and first and last name. - Collect payments using built-in payment integrations.
Simplify the checkout process. Connect to PayPal, Stripe, or Authorize.net accounts to collect registration fees or donations through the form. Use the order form tools to calculate the order, include coupon codes, taxes, and more. - Secure data collection and storage.
We encrypt data at all times including during the form submission process and at rest in the database. Use two-factor authentication and Sub-users to allow secure access to results. - Send data to other services to make a custom process.
Formsite’s built-in integrations give form owners ways to connect to other online services. Examples include Google Drive and Google Sheets, Microsoft OneDrive, Salesforce, and more. Plus, the Zapier integration connects with literally thousands of other online services. - Use Workflow for passing data to other forms.
Perfect for follow-up forms, upsells, option choices, and approvals.
Steps to Create a Registration Form Without Coding
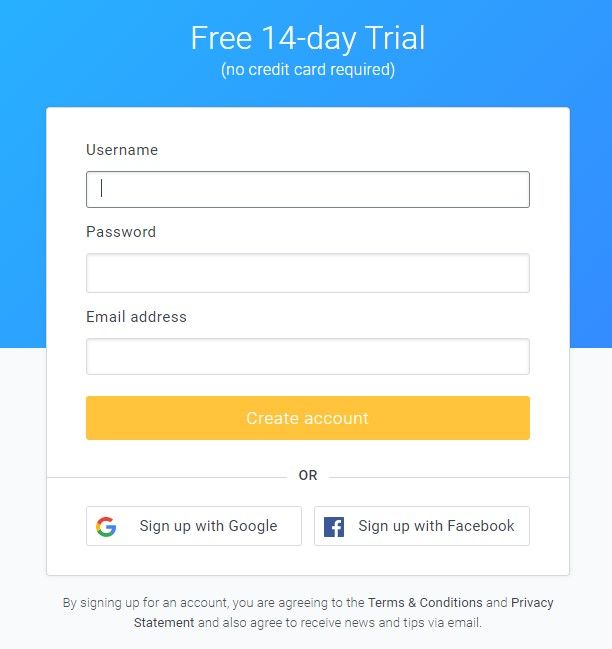
1. Sign up for free at Formsite.com
If you don’t already have an account, go to Formsite and click the Sign Up Free or Free trial button. You’ll start in the free 14-day trial of our Pro 1 service. You can create forms and have high limits for testing and access to all integrations.
2. Create your Registration Form
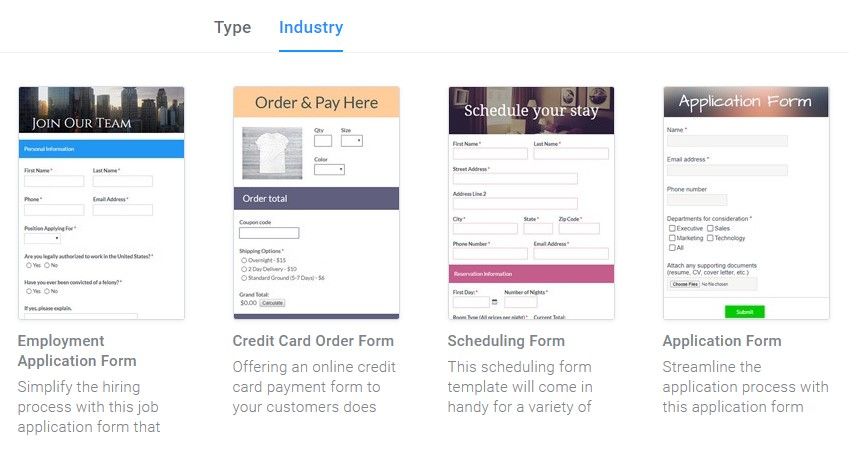
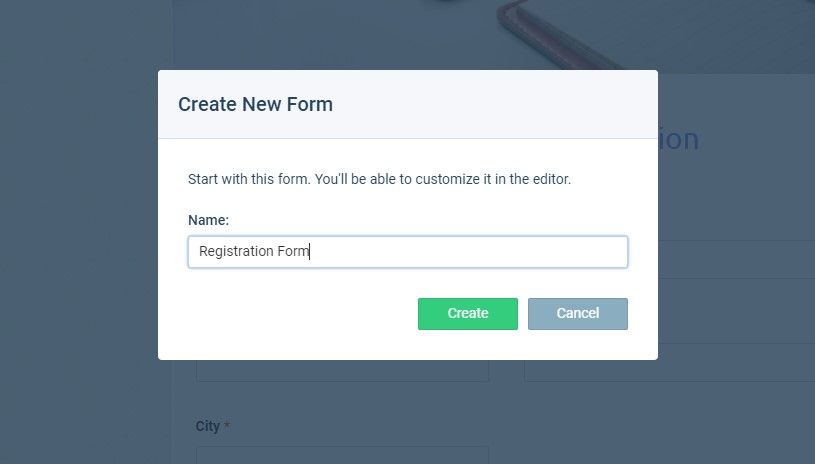
Click the Create New Form button and choose a registration form template or start with a blank form. Our template area has hundreds of online form templates organized by industry and type. Browse through them for examples of questions or styles that suit your needs. When you’re ready to get started, either choose an existing form template or select a blank form to build your own. Once you have made your selection, click the green “Create New Form” button at the bottom of the page then give your new form a name. Enter something to make it easy to identify, then click the green “Create” button to proceed.
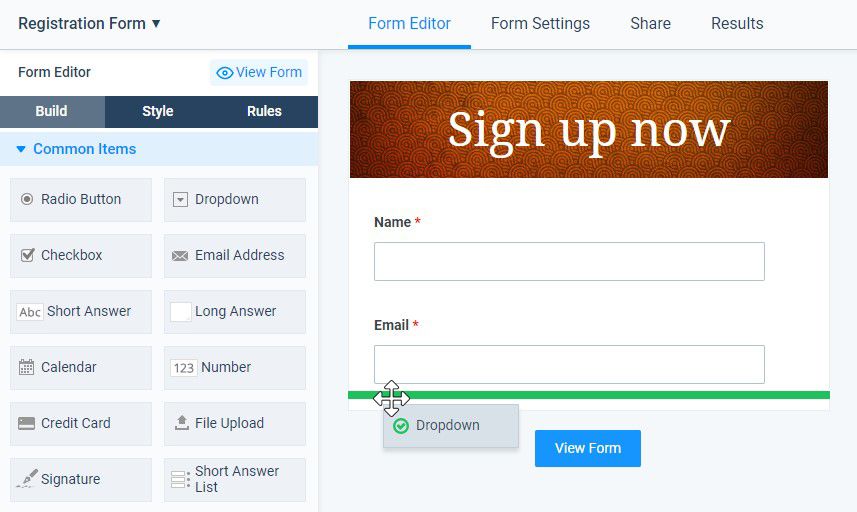
3. Build your form
Use the Form Builder with our drag and drop editor to add, edit and remove form fields as needed. This section of the form editor shows what the order form looks like as you make changes. Use the items under Common Items for most of the form input needs. The other sections include specialty items, like Formatting Items and Order Form Items. For registration forms, use the Order Form items to allow adding pricing and quantities to choices.
In the form editor, moving the mouse cursor over items in the form displays the edit menu for that item. Along the bottom of the blue box, you’ll see the links to “Edit”, “Copy”, “Delete”, and “Multi-Select”. These links allow you to edit the form item, copy it, delete it, or select with other items as a group. Choosing a group displays links (e.g. edit, copy, or delete) to affect the whole group. To move an item, hover over the form field with your mouse, then click and drag the form field to where you would like it to go.
4. Customize your form
Use the Style pages to transform your registration form’s appearance to match your brand. Use Themes to apply fast premade settings and the Customize settings to set every part of the form’s appearance. Change the fonts, colors, and sizes and see the form’s preview area for instant feedback. Advanced users can use the Advanced page to make changes to the form’s CSS settings.
The Rules page lets form owners show or hide items based on answers to questions in the form. Page rules allow for skipping pages or directing visitors to specific Success Pages. To add a rule, click the gray “+ Add Item Rule” button or the gray “+ Add Page Rule” button. Choose the question you want to watch, set the condition, then click the green “Save” button.
Use the Form Settings pages to set Notification emails, Success Pages, and the Integrations. Notifications send emails after receiving successful results as real-time alerts and confirmations. Set Success Pages to display content or forward visitors to other pages, and set the integrations to continue the process.
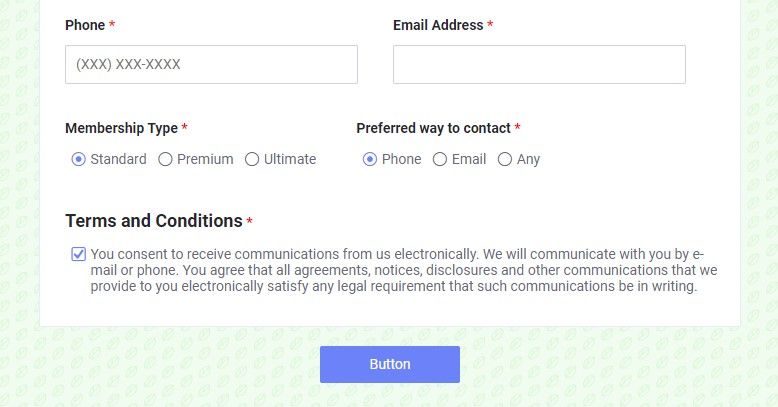
5. Test your form
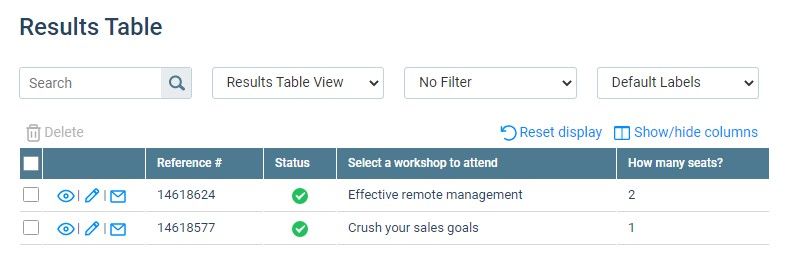
After the registration form is complete, test it to make sure everything works as you expect. Click the View Form button and fill out the form as a user would. Once you’ve filled in all the fields, click the button at the bottom to submit. Click the Results link to see the answers in each form result.
Click the view link for each result to see the answers given. Did you gather all the information you need to complete the registration? Did the rules trigger as you expected? Go back to the form editor to adjust your form if needed. Optionally set up Notification emails to send after each successful submission, and enable integrations to send the data to another service.
6. Share your form
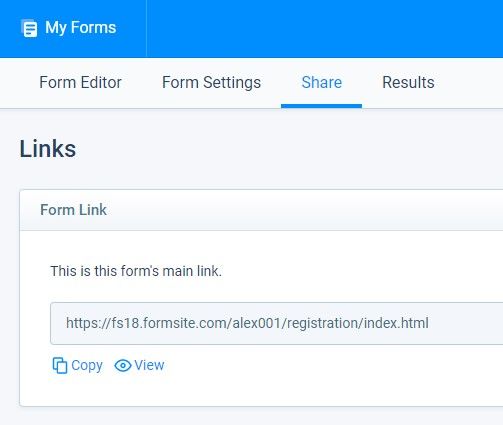
After testing the order form and setting up any Notifications and Integrations, it’s time to start collecting results. Click the Share link to see the Form Link, which is the form’s unique URL. Copy this link and paste into an email, a social media post, or a website so visitors can click to visit your form.
To display the form as part of your site, click the Embed Code link on the Share page to see the embed code. Copy the code and paste into the code in your site to display as a seamless part of your site. If you have a WordPress site and you’ve already installed the Formsite WordPress plugin, click on the WordPress link for the short code.
If at any time you need help while building, testing, or sharing your registration form, click the Support link at the top of your page. You can check our knowledge base or blog for answers, or email our Customer Support team for help.